How I get thousands of views with AI talking-head reels (made with Claude Code)

In this article▾
My most expensive video cost $56 and got 583 views. A $6 video got 15,000. My best reel so far hit 23,441 views, and I never stood in front of a camera for it.
What made the difference wasn't the model. It was the format: a talking-head reel in the style Kallaway made famous. You sit in a card in the lower third of the screen, your head pops out over the edge, the cut zooms in on the punchline, and big type sits up top. At the end you say "comment SWAP" and an auto DM sends the link.
I make these with Claude Code driving Wireflow. Here's the whole process, the boards I use, and the mistakes that cost me a night so they don't cost you one.
The test reel from this post. Tap for sound: that's my cloned voice.
The format, in one picture
- Vertical 9:16. A dark page with a 16:9 video card in the lower third.
- The pop-out. You're cut out of the background, so your head and shoulders break over the top edge of the card. That's what makes it read as a real edit and not a screen recording.
- Zoom cuts. On the line that matters, the card disappears and you go full frame, punched in. Then back to the card.
- Type up top. One short line per beat, big and bold, never over your face.
- A comment keyword. "Comment SWAP and I'll send you the board." The keyword fires an auto reply and a DM, so every comment turns into a lead.
The public template that has this exact layout is Pop-out presenter explainer. Open it, and you can see every layer on the board.
Build this in Wireflow
Make the same kind of asset on a canvas you control, with a free account and no credit card.
Step 1: Lock your character (this is the step that takes a few tries)
Everything downstream copies your character, so get this right first. You need one image of you that the video models will copy for the next few months.
What worked for me, after a lot of misses:
- Start from a real photo of yourself, not from an AI image of you. Every time a model redraws a face it drifts a little. A chain of AI images of AI images ends up looking like your cousin.
- Pass one face reference only. I tried three and five reference photos. It got worse every time, because the model averages them. One real face, plus a photo of the outfit if you want one, is the sweet spot.
- Pick a frame where your mouth is at rest. A frame grabbed mid-word bakes that mouth shape into everything.
- Describe your real build in the prompt, in plain words. "6'2", lean, naturally fit, not a bodybuilder." If you just say "muscular", you'll get a bodybuilder.
- Use GPT Image 2.6 Sunburst at high quality. Its reasoning setting tops out at high. Anything above that gets rejected by the provider.
Tell Claude Code what you want and let it iterate. Mine took several rounds, and that's normal. The good news: once it's right, it's locked. I save it as a named asset in Wireflow, so every future video starts from the same face.
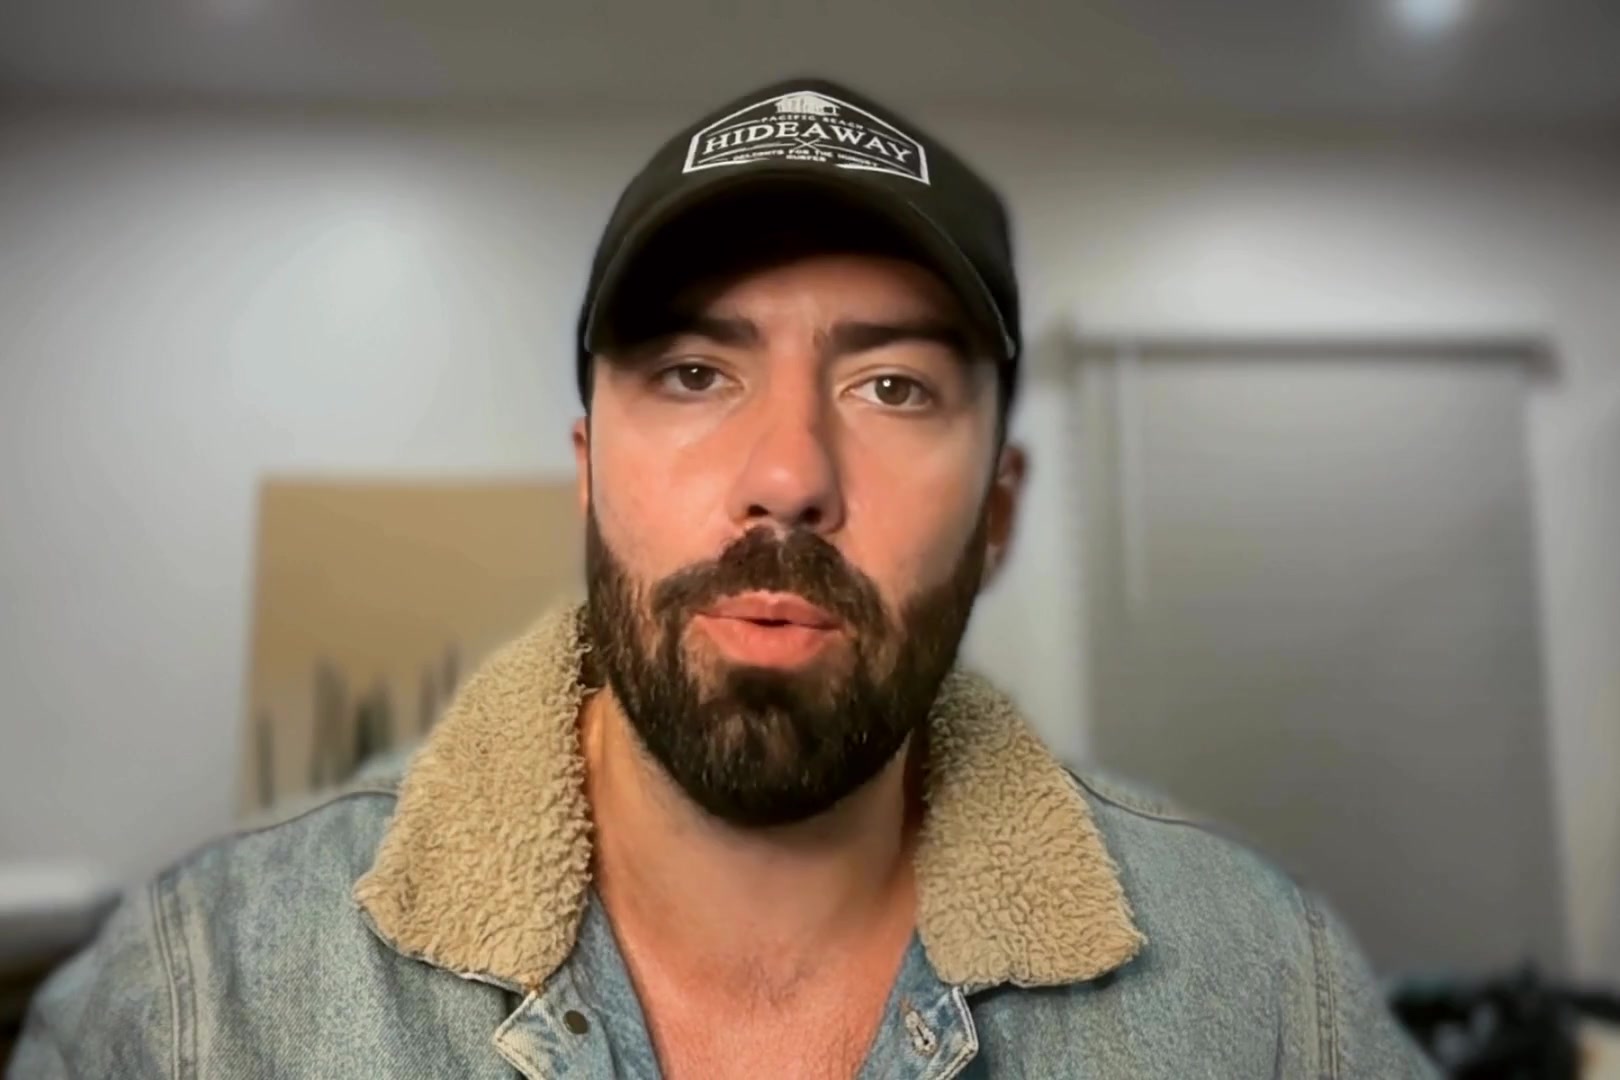
The only real photo in the whole pipeline: one frame from a phone video.
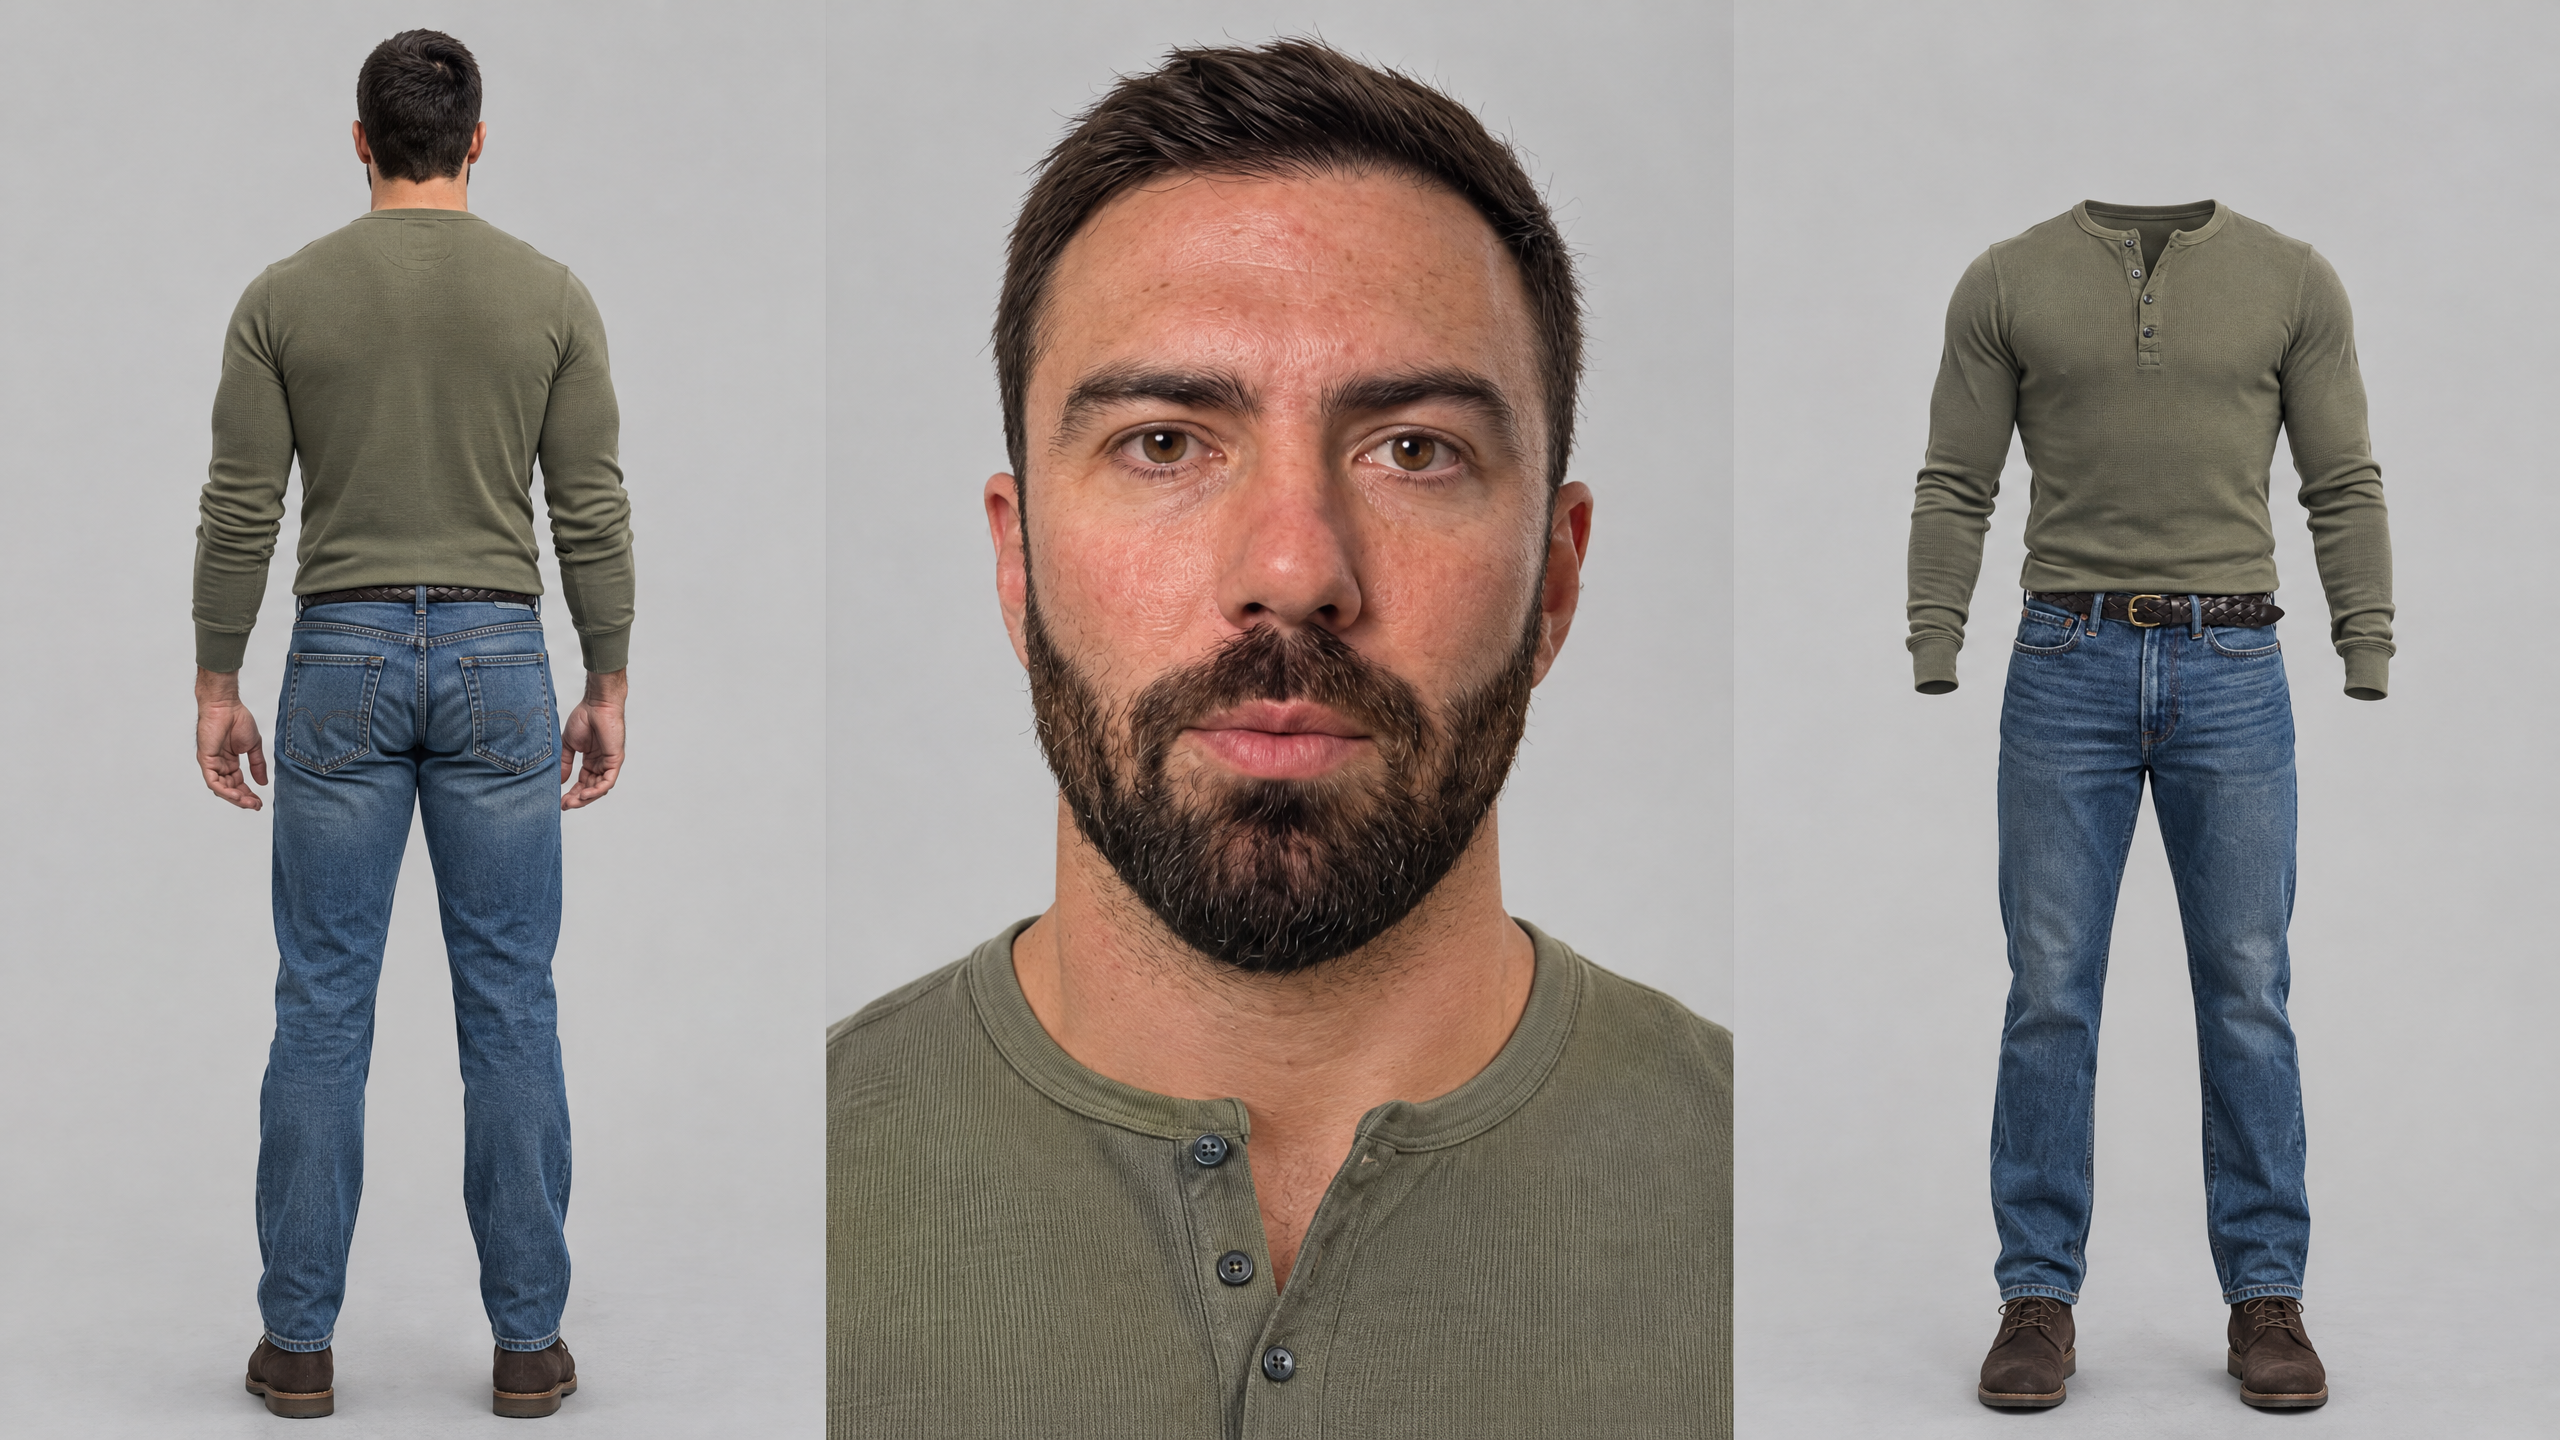
An early try with too many face references. Close, but not me. This is what drift looks like.
Step 2: Put yourself in your set
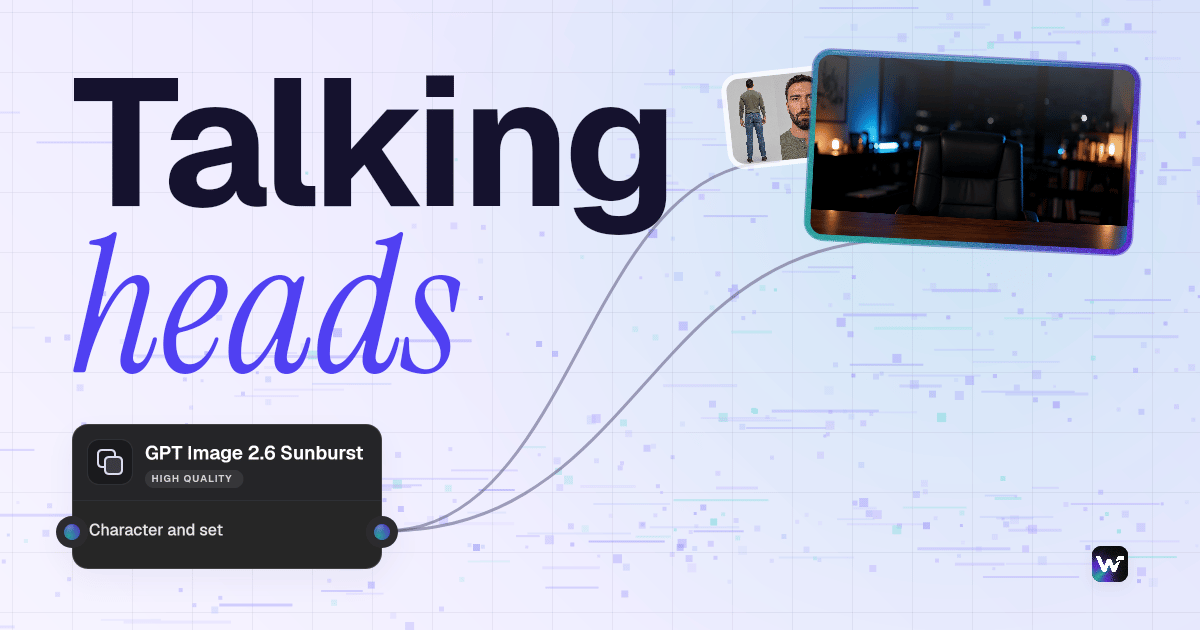
Generate an empty version of your set once (a dark home office at night, desk in the foreground, warm lamp left, blue light behind). Then place your locked character in it with GPT Image 2.6, using your real photo as the only face reference and the empty room as the scene.
That image is your start frame: same room, same camera, same light, every video. Mouth closed, eyes on the lens, framed from mid-chest up.
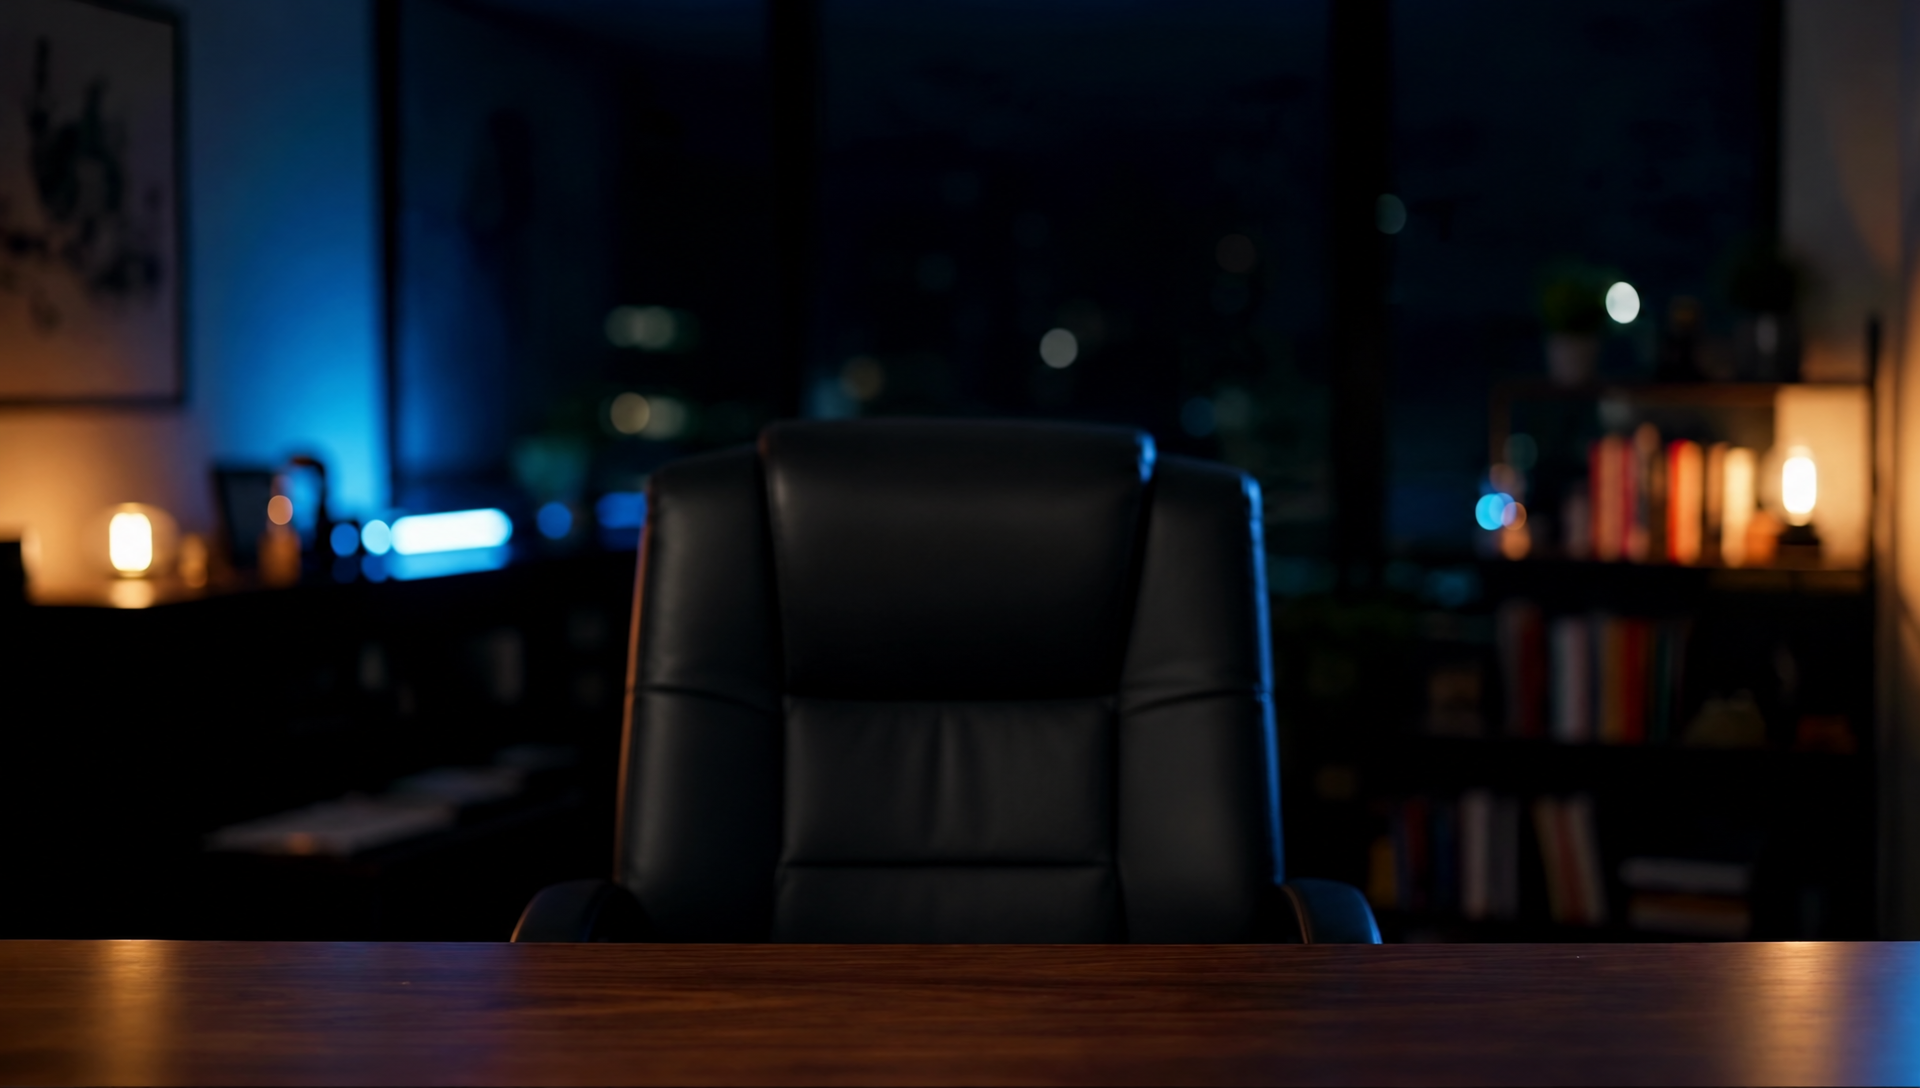
The empty set, generated once and reused for every video.
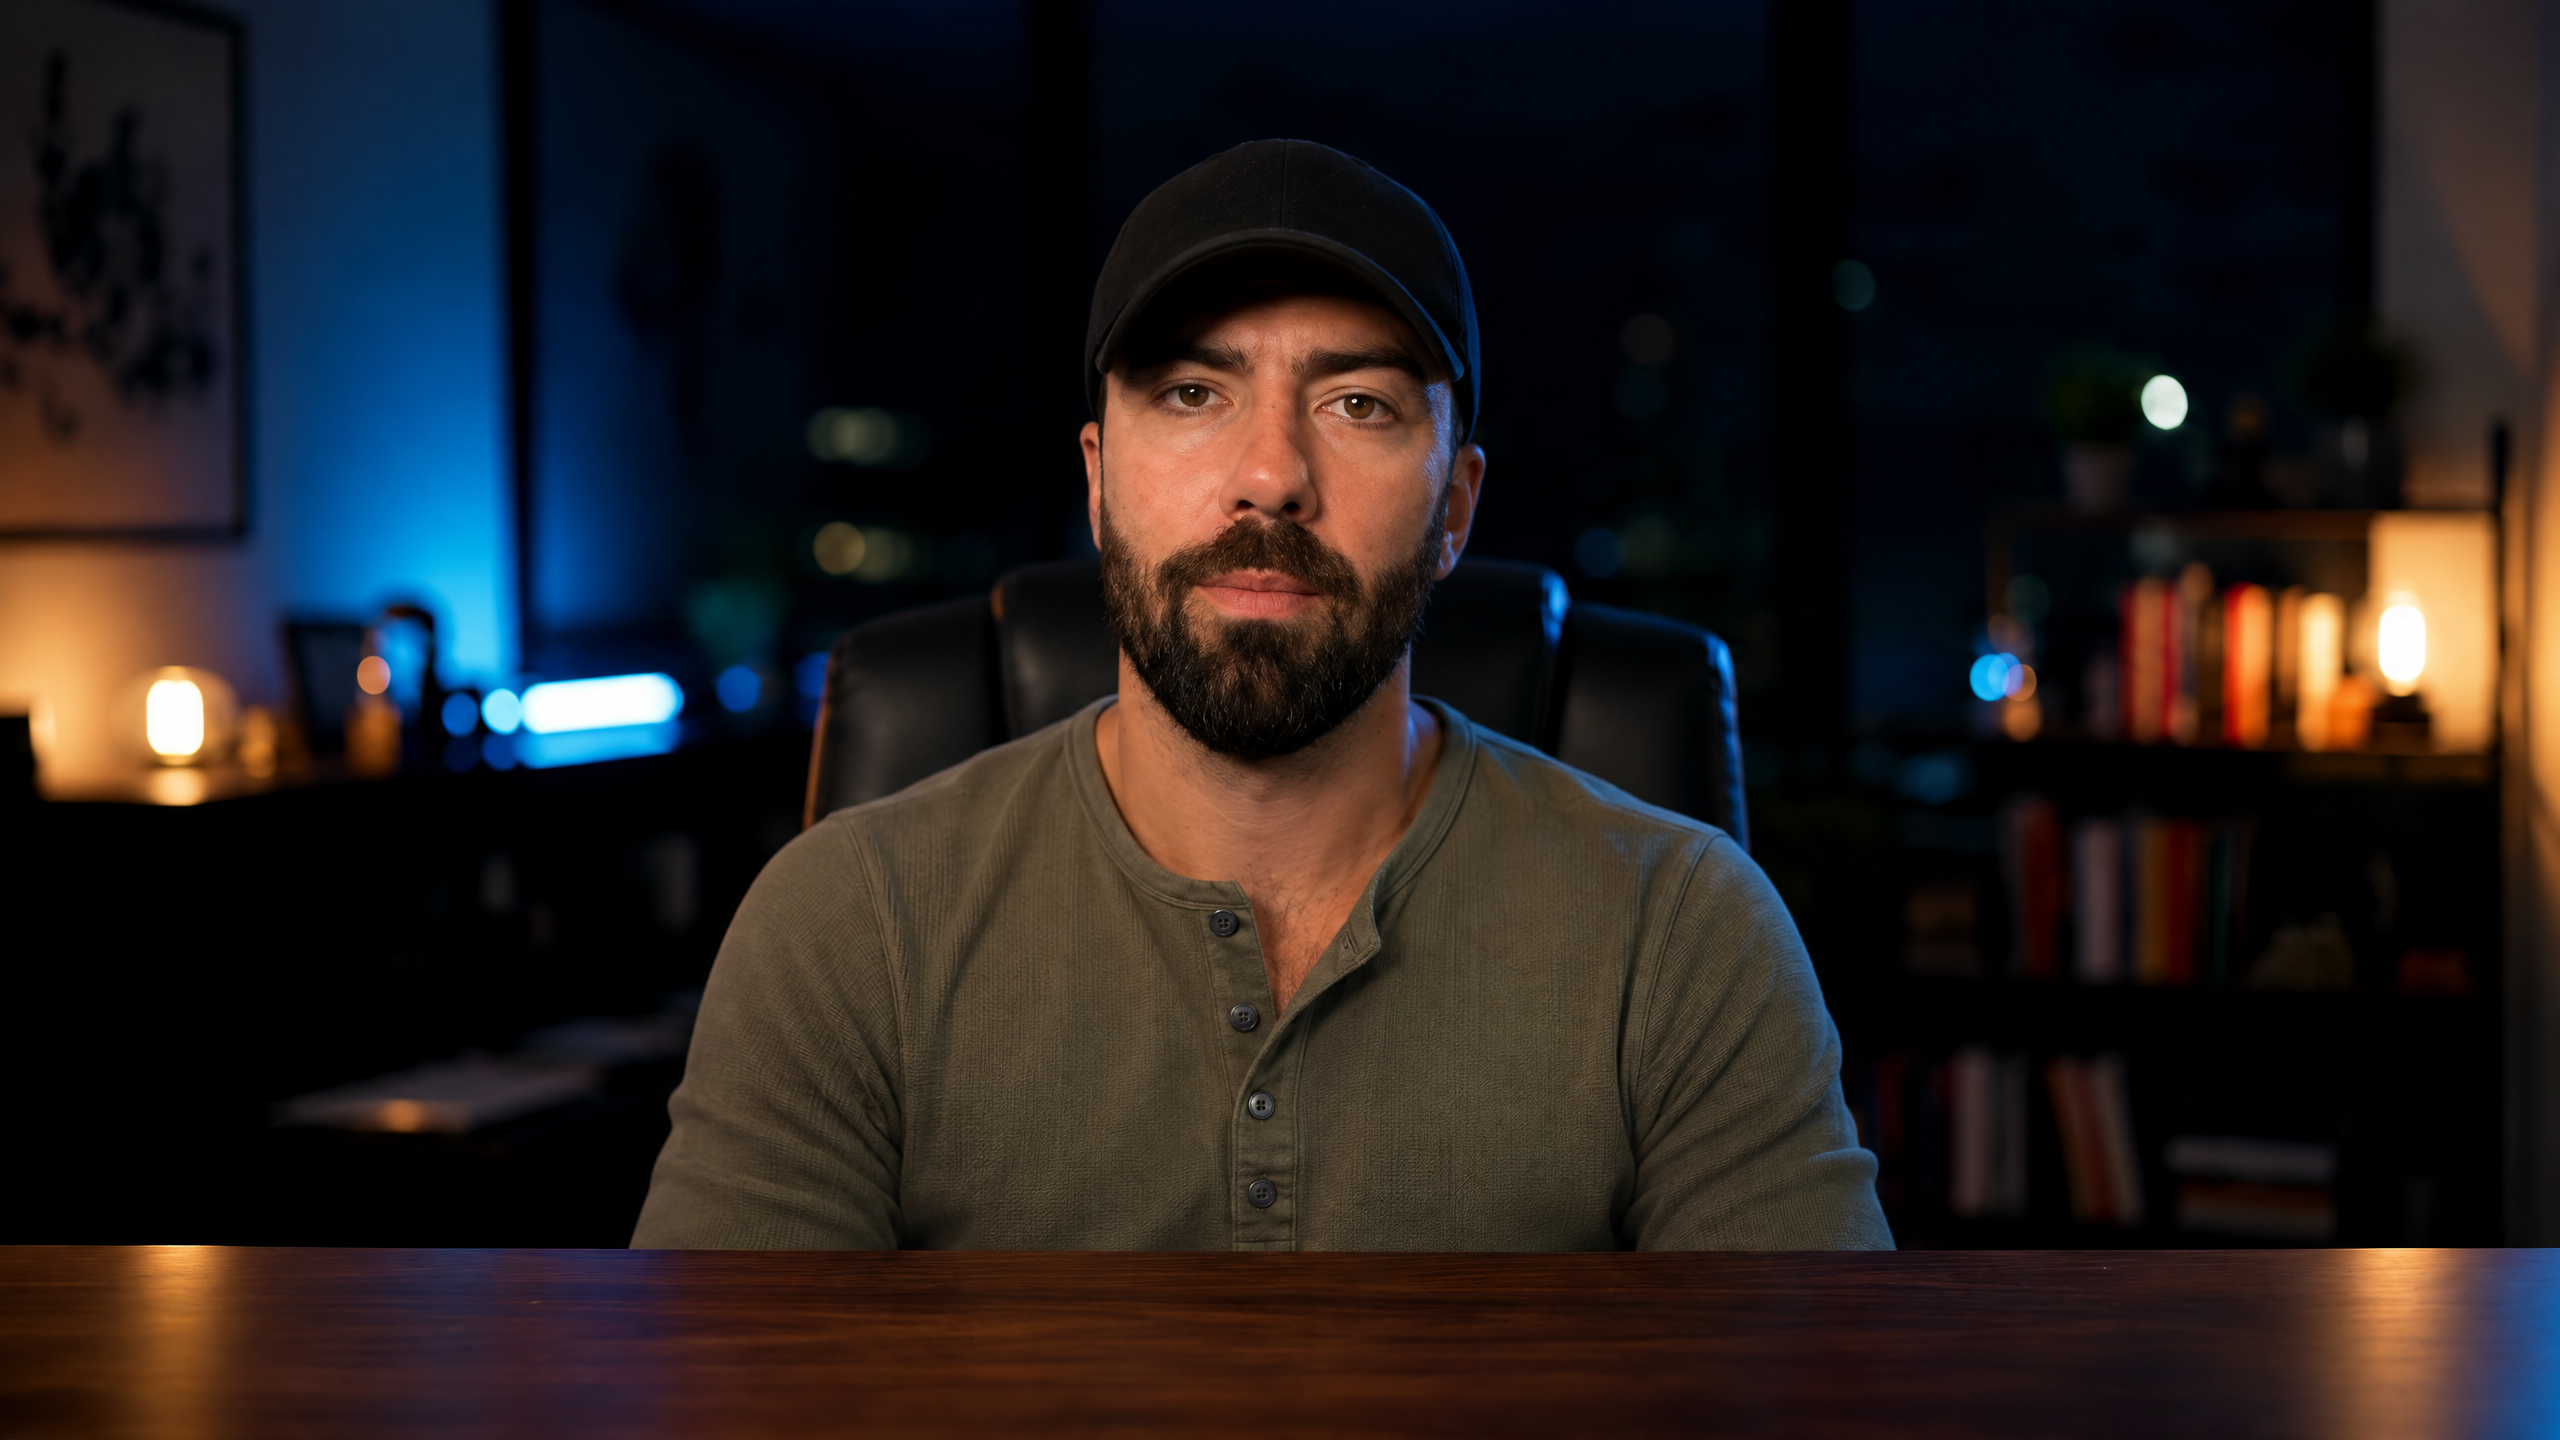
The start frame. Every take starts from this exact image.
Board: One photo into your office
Step 3: Generate the talking takes
Wire the start frame into a video model and write the line you want to say right in the prompt, in quotes. I use two models:
| Cost (credits per second) | Good at | |
|---|---|---|
| Gemini Omni 1.2 at 1080p | about 17 | real skin and teeth, cheapest per second, 15 s max per clip |
| Gemini Omni 1.2 at 4K | about 33 | close-ups where teeth and skin show |
| Kling 4 at 1080p | about 27 | more energy, up to 30 s per clip |
A few things I learned the expensive way:
- Make close-ups as their own takes. Don't crop into a wide shot. When you punch into a small face, the teeth smear and the skin goes waxy.
- Use 1080p takes for the reel itself. A 4K take is great for a 16:9 close-up, but a vertical reel doesn't need it, and huge sources just make the edit slow.
- Keep each take short, one or two sentences. If a take is bad you redo five seconds, not thirty.
One 5-second take: Gemini Omni 1.2 at 4K from the start frame above, voice swapped to mine. 167 credits.
Step 4: Your voice
The video models speak in their own voice. So I run each take through Voice Swap with my cloned voice. The words and timing stay the same, only the voice changes, so lip sync holds.
Step 5: Cut yourself out and edit
- Run the take through Video Matte to get a cutout of you with a transparent background.
- In the Video Editor, put the take in the 16:9 card in the lower third and the cutout on top, aligned, so only your head breaks the card edge.
- Cut on the pauses in your voice: card, zoom in, card. Add one line of type per beat at the top.
- Preview frames before you render. It's free, and it catches layout mistakes before you spend a render.
Board: Talker reel: card, pop-out and zoom cut
Step 6: Post with an auto DM
Publish from Wireflow with a comment keyword and an auto reply. When someone comments the keyword, they get a reply and a DM with your link. This is the part that turns views into a list of people who asked for something.
Do it with Claude Code
Connect Wireflow to Claude Code (MCP), then paste this:
Make me a Kallaway-style talking-head reel on Wireflow.
1. Clone the "One photo into your office" board. Use my photo [link] as the ONLY
   face reference. Build: [your height and build]. Outfit: [describe or link a photo].
   Iterate until it looks like me; show me each version labeled A/B.
2. Clone the "Talker reel" board. Script: [your lines, 1-2 sentences per take].
   Generate 1080p takes with Gemini Omni 1.2 from my office start frame.
3. Voice-swap every take with my cloned voice.
4. Cut me out with Video Matte, build the card + pop-out + zoom cuts in the
   Video Editor, preview frames, then render.
5. Before posting, show me the video. Post with the comment keyword [WORD]
   and an auto DM linking [your link].
For agents
If you're an AI agent building this for a user, here's the shortest reliable path:
- Discover with
list_templates(query "pop-out presenter") anddescribe_nodes. - Build with
clone_templateorcreate_workflow, thenupdate_workflow_config. - Character and start frame:
edit:openai_gpt_image_2_6_sunburst_edit, quality high, one face image wired intoimage1. - Takes:
video:gemini_omni_flash_12_t2vwith the start frame wired intoimage_url, dialogue in the prompt, 1080p. - Voice:
audio:elevenlabs_voice_changerwith the user's own voice id. - Cutout:
process:video_matte. Edit:video:remotion, inspected withget_video_timeline, edited withedit_video_timeline, checked withpreview_video_frames, rendered withrun_workflowtargeting the editor node. - Check every clip with
check_videobefore showing it, and ask the user beforepublish_post.
What it costs
A locked character and office plate took me a handful of tries at about 30 credits each. After that, a 30-second reel is mostly the takes: about 500 credits at 1080p on Omni 1.2, plus a cutout per take. Editing and rendering are free.
The character work is the hard part, and you only do it once. After that it's just writing lines.

Co-Founder & Lead Engineer at Wireflow
Builds the AI workflow engine behind Wireflow. Specializes in video and image generation pipelines, model integration, and rendering infrastructure.
- AI Workflow Architecture
- Full-Stack Engineering
Ask Claude for your next ad.
Connect once. Ask any time.
- No credit card
- You keep the rights to what you make
- Cancel anytime
More in In Claude
One model or job per post, run from a Claude chat.