
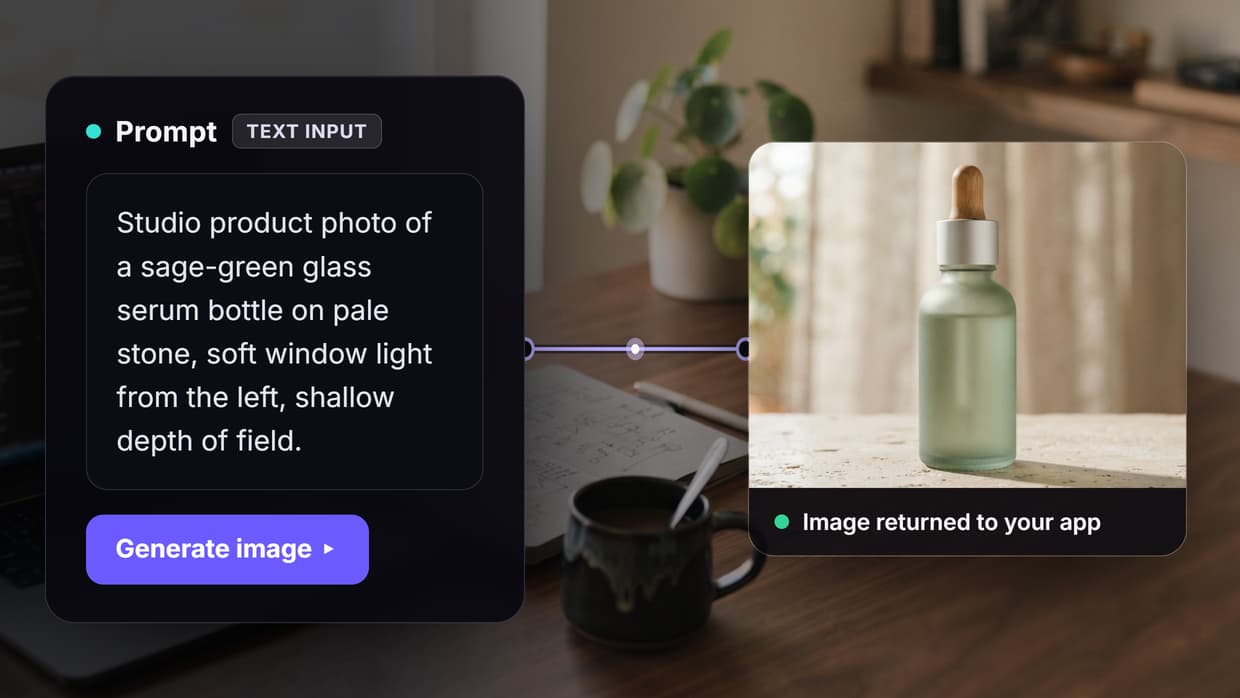
Adding text-to-image generation to your app takes four moving parts: a model provider, an async job handler, somewhere to store the finished file, and a guardrail layer that stops one user from burning your whole month of credits. The API call itself is about ten lines. Everything around it is where projects stall. This guide walks the full integration path, from picking a model to shipping a production endpoint, and covers the parts most tutorials skip. Wireflow lets you chain the generation, upscale, and post-processing steps into one callable endpoint, which removes a lot of the plumbing described below.
What you are actually building
A text-to-image feature looks simple from the outside: a user types a prompt, an image appears. Behind that, your app has to validate the prompt, send it to a model, wait somewhere between three and ninety seconds, retrieve a file from a temporary URL, move it somewhere permanent, and hand a stable link back to the browser. Skip any one of those and you get the classic failure modes: dead image links after 24 hours, a request timeout at the load balancer, or a bill that does not match your revenue.
For a hands-on look at this in action, check out the AI SDK for image generation feature page, which shows the same pipeline as a configured endpoint rather than code you maintain yourself.
Step 1: Pick your model and provider
Model choice drives cost, latency, and how much prompt engineering your users have to do. There is no single correct answer, but there is a correct method: pick two models, run 20 of your real prompts through both, and compare outputs side by side before you write any integration code. A detailed breakdown of the current options lives in our roundup of the best image generation APIs for developers.
The practical shortlist in 2026 looks like this:
- Nano Banana Lite for high-volume, low-latency work where cost per image matters more than maximum fidelity. Good default for user-generated content inside a product. See the Nano Banana API reference for parameters.
- FLUX family for prompt adherence and text rendering inside images, which matters for anything poster-like or marketing-facing. The FLUX 2 API page covers the tiers.
- Stable Diffusion variants when you need LoRAs, fine-tunes, or a self-hostable fallback. The Stable Diffusion API is the usual entry point.
- GPT Image class models when the prompt is conversational and the user will not write a structured description.
One decision to make early: single provider or aggregator. A single provider means one SDK and one bill, but a model deprecation becomes your outage. An aggregator or workflow API puts a stable interface in front of several models so you can swap the underlying engine without a client release.
Step 2: Make the call, then decide sync or async
Every provider exposes roughly the same shape: POST a prompt plus parameters, get back either an image or a job id.
POST /v1/generate
{
  "model": "nano-banana-lite",
  "prompt": "studio product photo of a sage-green glass serum bottle on pale stone",
  "width": 1408,
  "height": 768,
  "n": 1
}
Synchronous calls block until the image is ready. They are fine for internal tools and prototypes, and they break in production the moment generation takes longer than your gateway timeout, which is commonly 30 seconds on managed platforms. Asynchronous calls return a job id immediately with a 202, and you either poll a status endpoint or register a webhook.

Use async by default. Poll if your traffic is low and you want fewer moving parts; use webhooks once you are past a few hundred generations a day, because polling at scale turns into a meaningful share of your own request volume. The pattern for combining several models into a single async job is covered in chaining multiple AI models in one API call.
Step 3: Model the job in your own database
This is the step teams skip and regret. Do not treat the provider's job id as your source of truth. Create your own row the moment a user submits a prompt:
| Column | Purpose |
|---|---|
id |
Your job id, returned to the client immediately |
user_id |
Attribution for quotas and billing |
prompt |
The raw input, kept for moderation review and retries |
provider_job_id |
Foreign key into the provider |
status |
queued, running, succeeded, failed, blocked |
output_url |
Your permanent URL, not the provider's |
cost_cents |
Written on completion so spend is queryable |
With that table in place, retries are trivial, a provider outage degrades instead of losing work, and your support team can answer "where is my image" without reading logs. It also gives you the numbers you need to enforce spend limits on AI generation rather than discovering the overage on an invoice.

Step 4: Copy the file before the URL expires
Provider output URLs are temporary. Depending on the vendor they live anywhere from one hour to seven days, and then your users' galleries fill with broken images. The fix is a single step in your completion handler: download the bytes, write them to your own object storage, and store that URL.
While the file is in your hands, do the rest of the work at the same time. Generate a thumbnail, strip or write EXIF, and record width, height, and byte size. If you are running this for multiple customers under one account, read up on multi-tenant AI image generation before you design the storage keys, because retrofitting tenant isolation into a flat bucket is painful.
Step 5: Add the guardrails before launch, not after
Three guardrails matter, and all three are cheaper to build now than to retrofit under pressure.
Input moderation. Screen the prompt before you spend a credit. Provider-side filters exist, but they reject after you have paid and they give your user an opaque error. A classifier pass on your side lets you return a specific message and log the attempt.
Rate and quota limits. Cap generations per user per hour and per billing period. Enforce it at the job-creation endpoint, not in the client. A single scripted account can otherwise generate thousands of images overnight.
Spend caps. Write the cost into every job row and check a running total before dispatch. If your workload is bursty, batch image generation with a fixed queue depth is a simpler control than per-request throttling, since the queue itself becomes the limiter.
Teams with strict data-residency rules sometimes conclude they need to run the models themselves. The tradeoffs are laid out in self-hosted image generation; the short version is that GPU capacity planning becomes your problem, and it is a bigger one than the API bill it replaces.
Step 6: Expose it to your agents too
If your product has an AI assistant, or your team uses coding agents, the same endpoint should be reachable as a tool and not only as a REST route. Exposing generation through an image generation MCP server means an agent can request an image the same way it calls any other function, with the quota and moderation logic you already built still enforced.
The wiring for that is short. Practical examples for assistant integrations are in connecting an AI image API to Claude, and the editor-side setup is covered in adding image generation to Claude Code.
Comparing the three integration approaches
| Approach | Time to first image | Ongoing maintenance | Best for |
|---|---|---|---|
| Direct provider SDK | Hours | You own retries, storage, model swaps | Single model, one clear use case |
| Hosted workflow endpoint | Hours | Provider owns orchestration and model updates | Multi-step pipelines, fast iteration |
| Self-hosted models | Weeks | GPU ops, scaling, model updates | Strict residency or heavy fine-tuning |
Most product teams should start with a hosted endpoint, measure real usage for a month, and only move to direct SDK calls or self-hosting once volume justifies the extra surface area. Cost per image at low volume is almost never the deciding factor; engineering time is. Current rates for the hosted path are on the pricing page.
Try it yourself: open the text-to-image endpoint workflow. It is a prompt node feeding an image model and an upscale step, callable as a REST endpoint or an MCP tool, with real outputs on the canvas so you can see the response shape before you write any code.
FAQ
How long does image generation take? Between roughly 3 and 20 seconds for most current models at standard resolution, longer with upscaling or multi-step pipelines. Design for 30 seconds and show progress rather than a spinner with no state.
Should I use webhooks or polling? Poll below a few hundred generations a day; it is simpler and needs no public endpoint. Move to webhooks above that, since polling costs you request volume that scales with concurrency rather than with completions.
How much does it cost per image? Roughly $0.003 to $0.08 per image depending on model, resolution, and step count. Budget by measuring your actual prompt mix rather than the headline rate, and record cost per job so the number stays queryable.
Do I need to store the images myself? Yes. Provider URLs expire, typically within hours to days. Copy the bytes to your own object storage in the completion handler and serve your URL to users.
What resolution should I request? Request the size you will display, then upscale only when a user asks for a print or download. Generating at maximum resolution for a thumbnail grid is the most common avoidable cost in these integrations.
How do I stop users generating inappropriate images? Screen prompts before dispatch with your own classifier, keep the provider filter as a second layer, log every blocked attempt with the user id, and apply the same review to outputs if your app is consumer-facing.
Can I swap models later without breaking my app? Only if you put an interface in front of the provider from day one. Keep model name, dimensions, and step count in configuration, and never let a model-specific parameter leak into your client code.
What about rights to the generated images? Terms differ by provider and change often. Check the current terms for commercial use and indemnity, and record which model produced each image so you can answer the question later.
Getting started
The integration itself is a weekend of work; the durable part is the job table, the storage step, and the guardrails, because those are what keep the feature stable once real users find it. Start with one model, ship the async path properly, and treat model choice as a configuration value you expect to change. If you would rather configure the pipeline than maintain it, Wireflow runs the generation, upscale, and delivery steps as one endpoint, and the developer overview covers how that fits into an existing stack.
Would you rather we just built it?
We get on a call, learn your style, build the workflow, and ship the deliverables on a schedule. You keep the workflow either way.


