 Andrew Adams · Co-Founder & Operations at Wireflow ·
 AI Ecommerce Images
Generate professional product photos and lifestyle scenes for your online store in seconds
Free to build · no credit card
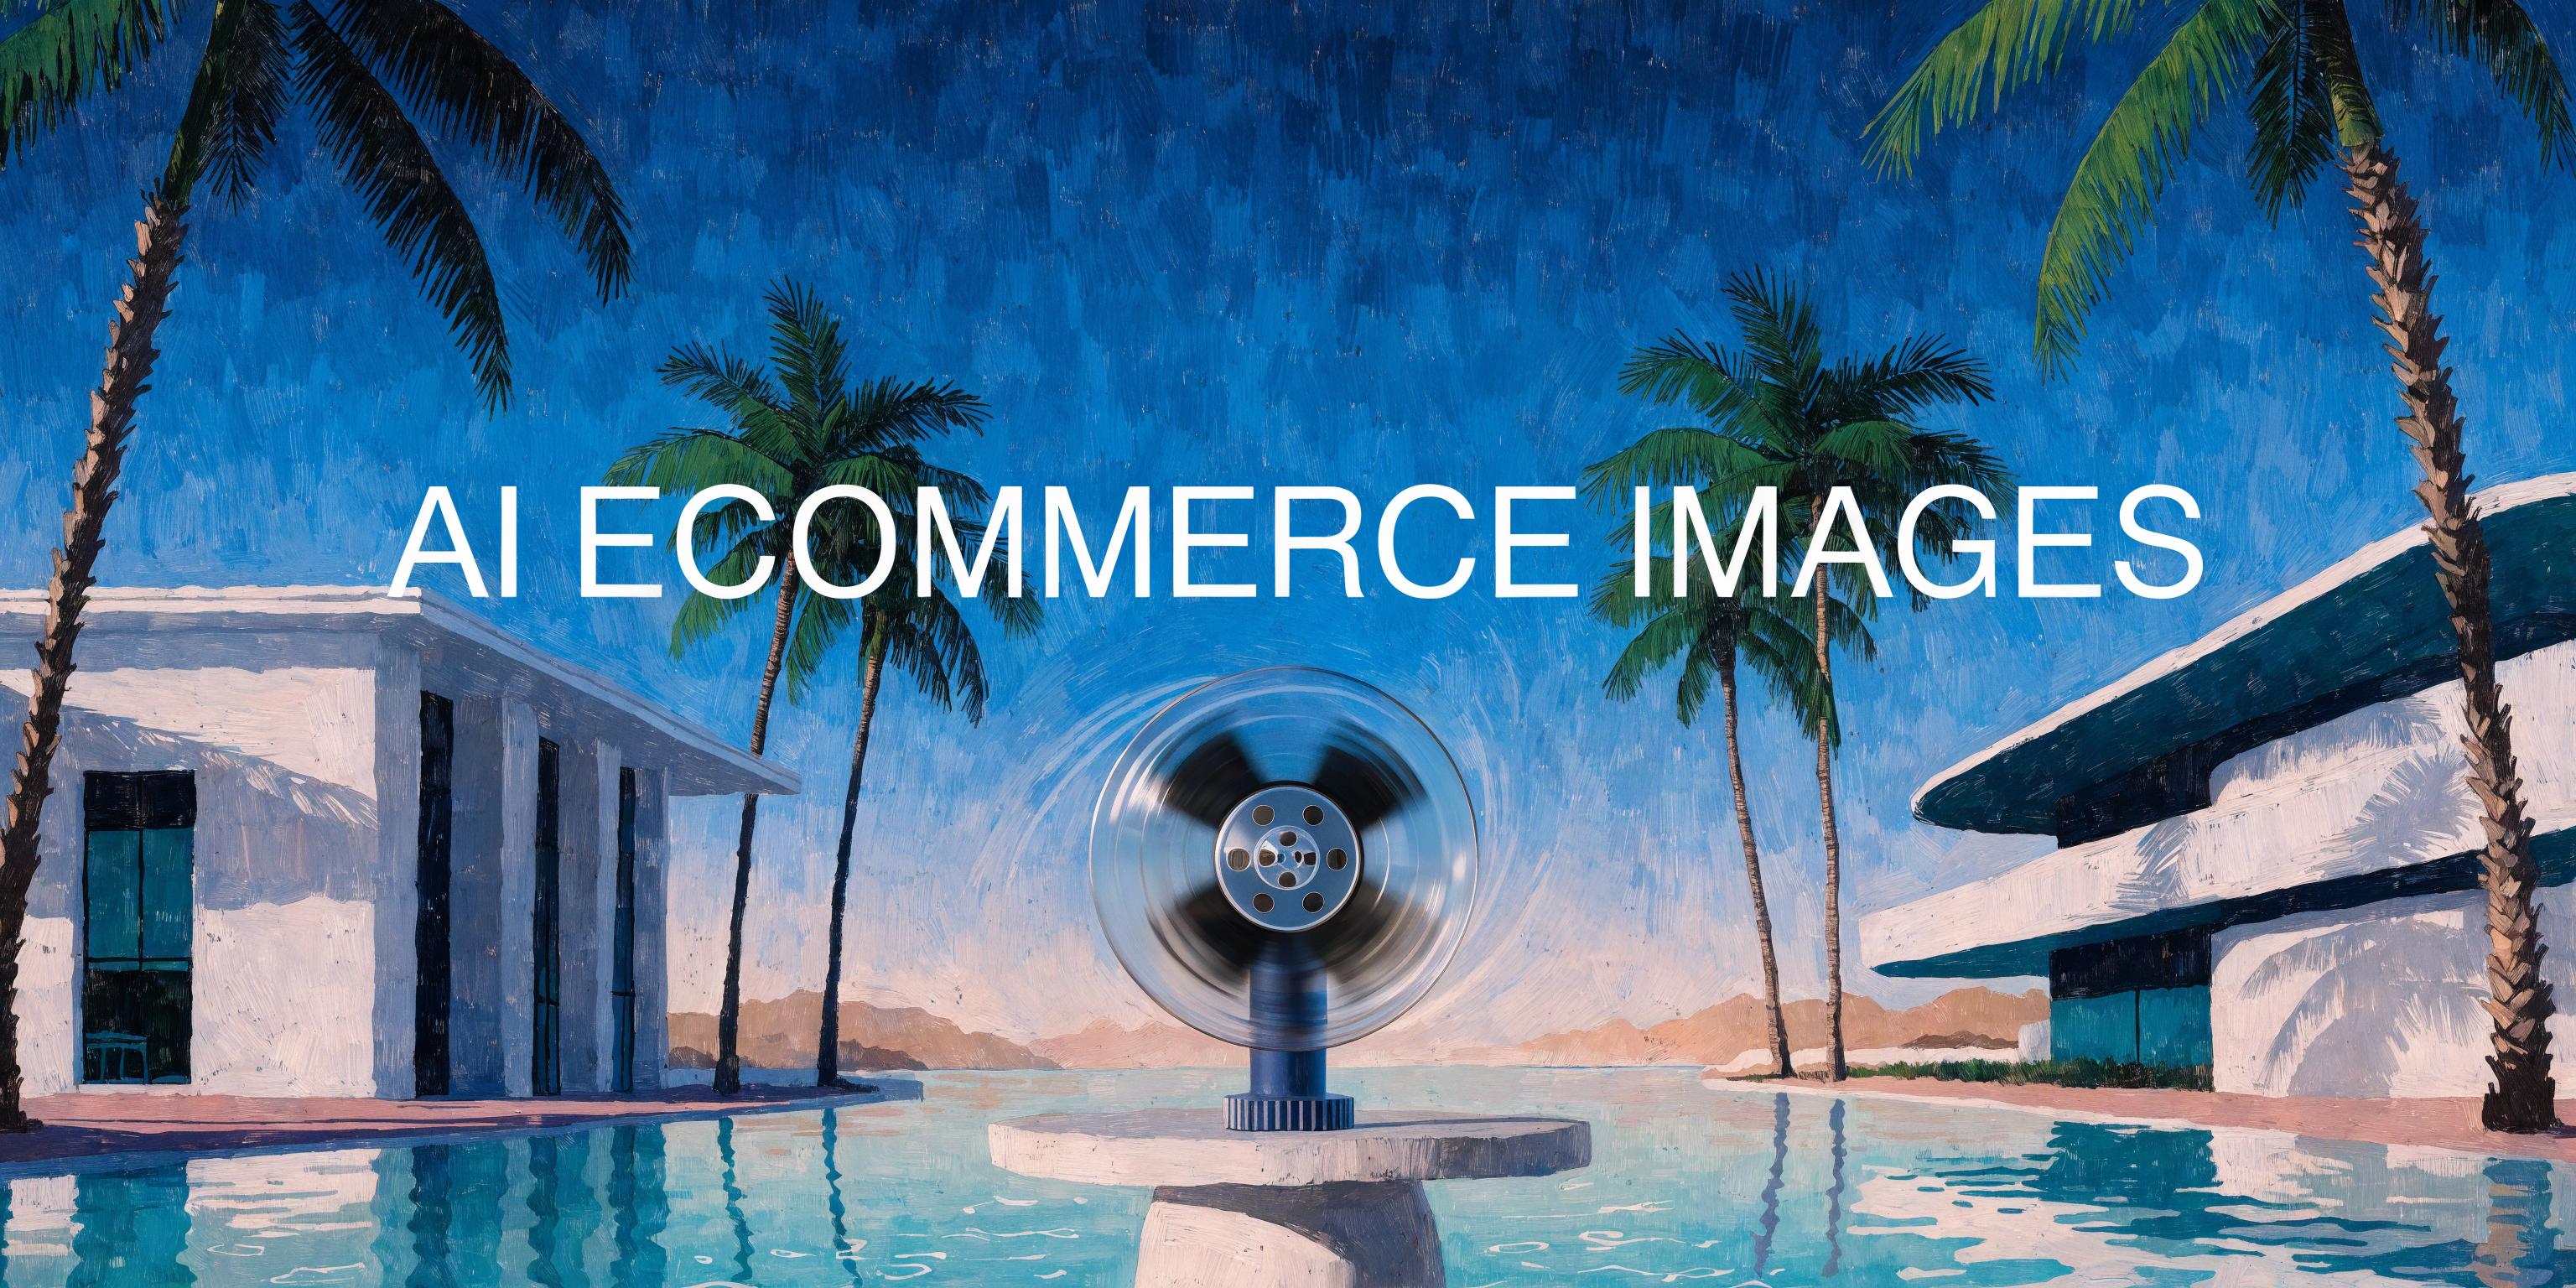
Studio-Quality Product Photos Without the Studio
Traditional ecommerce photography costs $200 to $5,000 per session and takes days to schedule, shoot, and edit. AI ecommerce image generation produces the same marketplace-ready visuals in seconds, at a fraction of the cost. Upload a product packshot or describe your item, and Wireflow generates lifestyle scenes, white-background cuts, and contextual placements that meet Amazon, Shopify, and social media specs.
Whether you manage 50 SKUs or 5,000, AI product photography scales without hiring photographers or booking studios. Every image maintains consistent lighting, shadows, and brand style across your entire catalog.
What You Can Create
Product Lifestyle Scenes
Place products in realistic environments with natural lighting, shadows, and reflections that match the scene context.
Background Generation
Generate custom backgrounds from marble countertops to outdoor landscapes, tailored to your product category and brand aesthetic.
Marketplace-Ready Formats
Output images sized and formatted for Amazon, Shopify, Etsy, and social platforms with correct aspect ratios and white backgrounds.
Batch Catalog Processing
Process hundreds of SKU images in a single run with consistent style, lighting, and composition across your entire product line.
Detail Enhancement
Sharpen textures, correct colors, and upscale resolution so every product detail looks crisp at any zoom level.
Seasonal Variants
Generate holiday, seasonal, or promotional versions of existing product photos without reshooting your entire catalog.
More Than Just AI Ecommerce Images
Instant Product Backgrounds
Swap plain packshots for lifestyle scenes in one click. Pair with the AI background generator for unlimited scene variations across your catalog. No packshot yet? You can generate the packshot itself from a short product brief first.
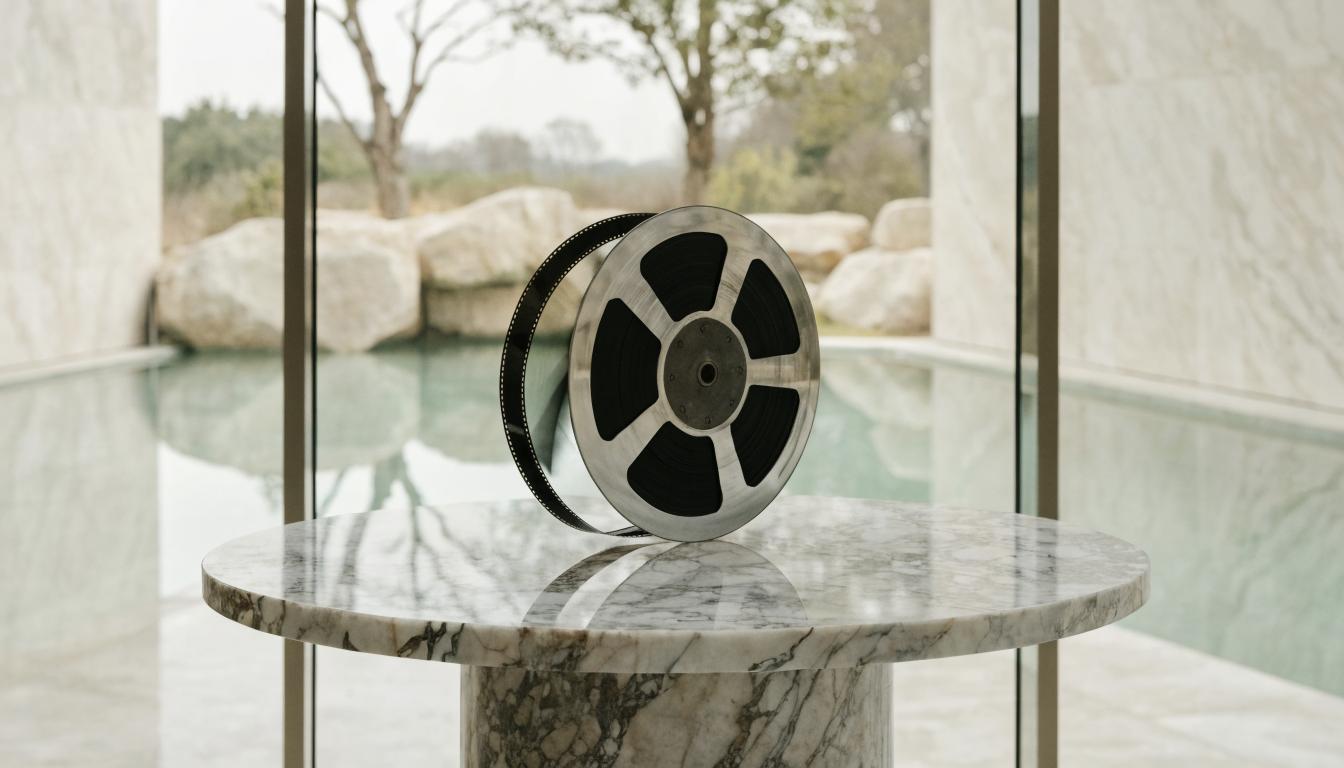
Photo-Realistic Quality
AI models preserve accurate textures, colors, and proportions so customers see exactly what they receive. Learn how to enhance product photos with AI for even sharper results.

Scale to Any Catalog Size
Process 10 or 10,000 images with the same consistent style. See how brands run batch image generation via API for large inventories. Render ghost mannequin apparel shots on an invisible mannequin first, then keep the rest of the listing images consistent.

Social-Ready Ad Creatives
Turn product photos into scroll-stopping ad visuals for Instagram, TikTok, and Facebook. Explore the AI ad generator for campaign-ready formats.
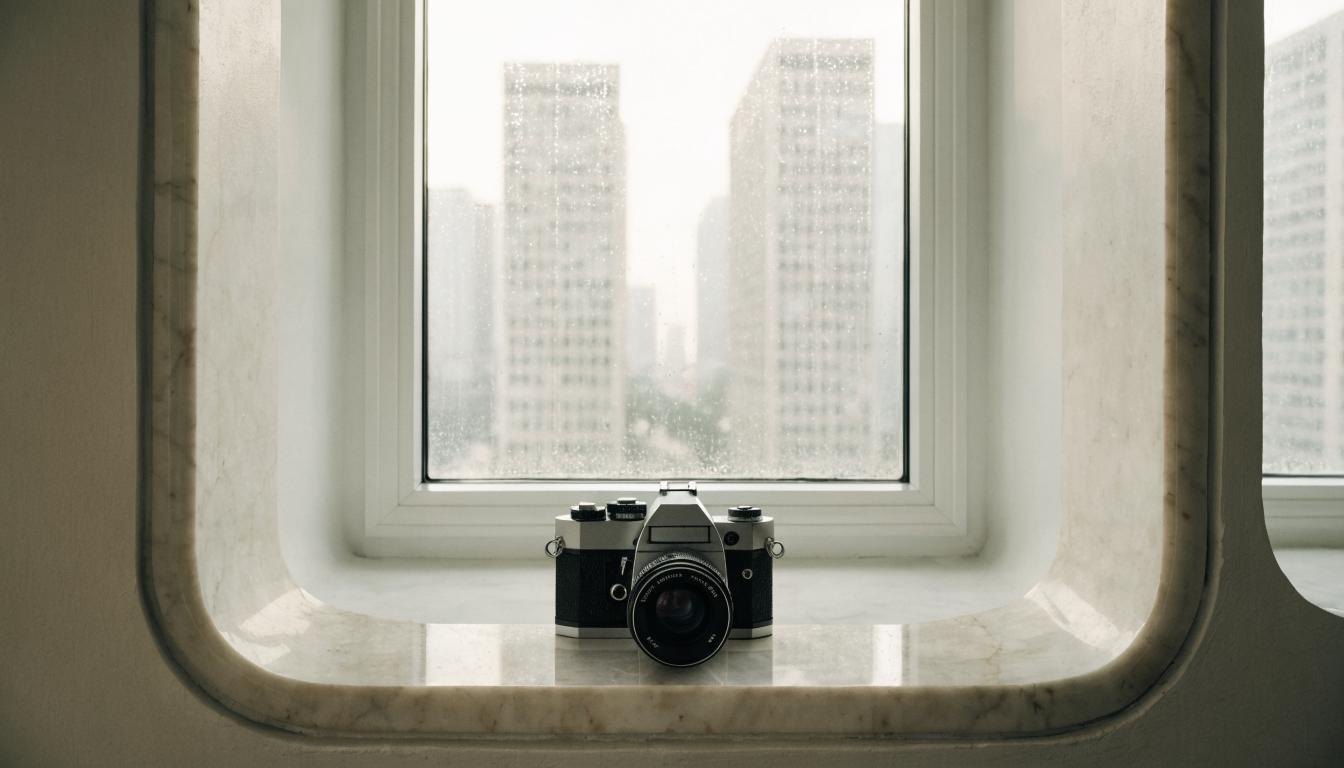
Background Swap in Seconds
Remove or replace backgrounds without manual masking. The AI background changer handles clean cutouts and new scene placement automatically.

Ecommerce images Workflows
No Code Required
API & Batch Processing
FAQs
AI ecommerce images are product photos generated or enhanced by artificial intelligence. They include lifestyle scenes, white-background cuts, and promotional visuals created from text prompts or existing packshots.
More From Wireflow
Written by
Andrew Adams · Co-Founder & Operations at Wireflow
Runs client operations and content strategy at Wireflow. Works directly with creative teams and agencies to build production AI workflows.
Create Ecommerce Images with AI
Generate studio-quality product photos, lifestyle scenes, and marketplace-ready visuals for your entire catalog without a camera or studio setup.