How to Make Professional Flyers With AI in Minutes

In this article▾
A professional flyer takes about 15 minutes with AI: five minutes to write the brief, five to generate options, five to fix the details. The saving comes from chaining those steps instead of jumping between tools. Wireflow runs the chain in one place, where a text model drafts the copy, an image model builds the layout, and an upscaler prepares the file for print.
The speed is real, but it is conditional. People who get a usable flyer on the first or second try decide what the flyer has to accomplish before they open a generator. People who skip that step spend forty minutes regenerating pretty images that nobody can read from three metres away. This guide covers the brief, the generation step, the edits that separate a draft from a finished piece, and the print checks that stop a good design from arriving as a blurry PDF.
What "Professional" Actually Means on a Flyer
Professional is not a style, it is a set of constraints. A flyer works when a stranger walking past a noticeboard can extract three things in under two seconds: what it is, when it happens, and what to do next. Tools built on AI image generation will happily produce an ornate composition that fails all three tests, because the model optimises for a pleasing picture rather than a readable message.
The measurable version of professional looks like this:
- One headline, six words or fewer, readable from three metres
- One dominant image or colour field, not three competing ones
- Date, time and location grouped together, never scattered
- One call to action, with the exact next step spelled out
- Consistent margins, with nothing important inside 5mm of the trim edge
- Two typefaces at most, three sizes at most
For a hands-on look at this running end to end, the 'AI flyer generator' feature page walks through the same chain with the nodes already wired.
Build this in Wireflow
Make the same kind of asset on a canvas you control, with a free account and no credit card.
Step 1: Write the Five Minute Brief
Open a plain text file, not a design tool. Answer six questions in single lines: who is this for, what are they being asked to do, where will it be seen, what is the format, what is the tone, and what must appear verbatim. That last one matters more than people expect, because prices, dates, addresses and legal lines are exactly what image models mangle.
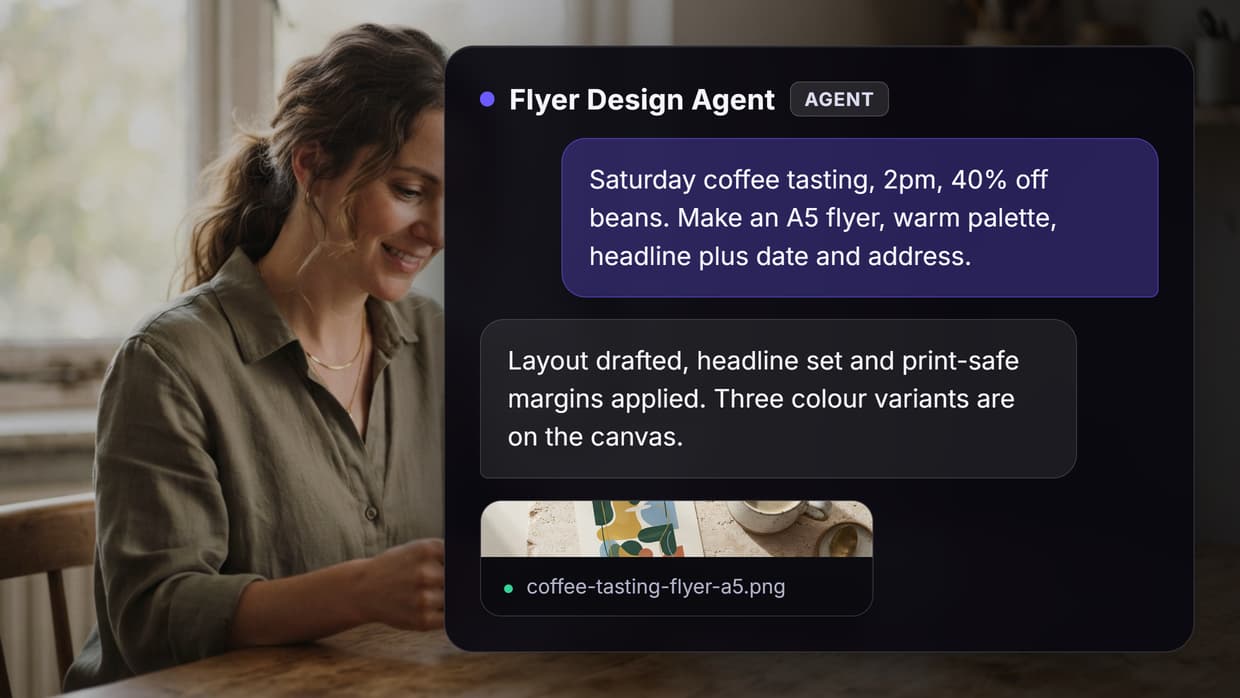
A brief for a coffee shop tasting might read: local customers within walking distance; come Saturday 2pm; taped in the shop window and pinned on two noticeboards; A5 portrait; warm and unfussy; must include "Saturday 14th, 2pm, 40% off whole beans, 12 Bridge Street". That is enough for a model to produce something specific rather than generic. The same discipline applies when you automate brand content at higher volume: the brief is the part that does not scale down.
Step 2: Generate Layout Options, Not Final Art
Ask for three or four variants in one pass rather than iterating on a single image. Variants are cheap and comparison is fast; refinement on a weak layout is slow and usually wasted. Prompt for structure explicitly, naming the format, the orientation, the amount of empty space and where the headline sits. A useful prompt shape:
A5 portrait flyer layout for a neighbourhood coffee tasting. Large headline in the top third, warm cream and burnt orange palette, one photographic element in the lower half, generous margins, clear empty band across the bottom for event details. Minimal, print-ready, no clutter.
Notice what the prompt does not do: it does not ask the model to render the date, the address or the price. Text rendering has improved, but it is still the least reliable part of image generation, and a wrong digit on 500 printed flyers is expensive. Leave a deliberate empty band and set the real text yourself in the next step. The same separation of image and typography shows up in logo design with AI, where the mark comes from the model and the wordmark is set by hand.
Step 3: Set the Real Copy
Take the winning layout and place the verbatim lines from your brief into the empty bands. Any editor will do this, from Figma to Canva to a slide tool, and it takes about three minutes once the layout exists. Three rules keep it clean: keep the headline to one line, keep the details block left-aligned as a single cluster, and make the call to action the only element in its colour.
Then run the three-metre test. Print at actual size, or view at 25% zoom, and stand back. If you cannot read the headline and find the date within two seconds, the problem is size or contrast, not the design. Teams producing many venue variants pair this with a broader design agent setup so the copy block regenerates per location while the layout stays fixed.
Step 4: Fix What AI Flyers Usually Get Wrong
Four failure modes account for most of the bad output, and each has a quick fix.
| Problem | Why it happens | Fix |
|---|---|---|
| Garbled or invented text | Image models approximate letterforms | Generate layout only; set all text yourself |
| Headline too small | Models balance the composition aesthetically | Force it to the top third and roughly double the size |
| Muddy contrast | Photographic backgrounds sit mid-tone | Add a solid colour band behind the text |
| Detail crowding | Every line given equal weight | Cluster date, time and address; cut the rest |
A fifth issue is resolution. Models typically output around 1024 to 1536 pixels on the long edge, which is fine on screen and visibly soft on paper. An image upscaler run at 2x or 4x before export closes the gap, and it is worth doing even for a short run at the local print shop.
Step 5: Print Checks Before You Export
Print is where otherwise good flyers fall over, and the checks take two minutes.
- Export at 300 DPI, not 72. A5 at 300 DPI is roughly 1748 x 2480 pixels.
- Add 3mm bleed if the design runs to the edge, and keep text 5mm inside the trim line.
- Convert to CMYK if the printer asks for it, and expect bright oranges and blues to shift slightly.
- Export as PDF rather than PNG or JPEG so the text you set stays crisp vector type.
- Print one copy on plain paper first. Colour will be wrong, but every spacing and legibility problem will be visible.
For digital-only flyers the checklist shortens: export at 1080 x 1350 for social feeds, check legibility at thumbnail size, and confirm the call to action survives compression. A roundup of free AI image generators is useful here for judging output quality side by side.
Making It Repeatable
If you produce flyers weekly, the fifteen minutes drops to about five once the chain is saved. The same saved chain doubles as an AI poster maker, rendering a larger headline for window displays and upscaling it to poster print size. Fix the layout prompt, keep the palette and the typefaces constant, and change only the brief. That consistency is what makes a series of flyers look like they came from one business rather than five different ones, and it is the same argument for keeping a brand content generator rather than starting from a blank prompt each time.
Cost stays modest at this scale: a few generations plus an upscale, where pricing only becomes a real factor once you move from one flyer a month to twenty variants a week.
Try it yourself: Build this flyer workflow in Wireflow. The nodes are pre-configured with the brief, layout and upscale steps described above.
FAQ
How long does it really take to make a flyer with AI?
About 15 minutes for a first flyer: five minutes on the brief, five generating and comparing variants, five setting the copy and checking print settings. Once you have saved a layout prompt and palette, repeat flyers take closer to five minutes.
Can AI render the text on the flyer accurately?
Sometimes, but not reliably enough for dates, prices or addresses. The safer method is to generate the layout with deliberate empty bands and set the verbatim text yourself in any editor. That also lets you fix spacing and hierarchy, which models handle poorly.
What resolution do I need for printing flyers?
300 DPI at final size. For A5 that is roughly 1748 x 2480 pixels, and for A4 roughly 2480 x 3508. Most image models output below that, so run an upscale at 2x or 4x before exporting, and export as PDF rather than a flattened image.
Do I need design skills to get a professional result?
No, but you need judgement about legibility. If you can tell whether a headline reads from three metres away and whether the date is easy to find, you can direct the model well enough. The constraints in this guide replace most of what a designer would apply by instinct.
What size should a flyer be?
A5 (148 x 210mm) is the standard handout and noticeboard size. A4 suits window displays and posters. DL (99 x 210mm) fits letterboxes and counter racks. For social feeds use 1080 x 1350 pixels instead of a print size.
Can I make several versions for different locations?
Yes, and it is the strongest reason to run flyers through a saved chain. Keep the layout, palette and typefaces fixed, then swap only the details block per venue. The set stays visually consistent while each version carries the right address and date.
Is AI cheaper than hiring a designer for flyers?
For a single simple flyer, yes: a few generations plus an upscale is a small fraction of a design brief. For complex brand work with custom illustration or unusual typography, a designer still produces a better result. The practical split is AI for routine recurring flyers, a designer for the pieces that define the brand.
What file format should I send to the printer?
PDF with 3mm bleed, text kept 5mm inside the trim line, and CMYK colour if the printer requests it. Ask before exporting; many small print shops accept high-resolution PDFs in RGB and convert on their side.
Conclusion
The fifteen minute flyer is achievable, but the time saving comes from structure rather than speed of generation. Write the brief first, ask the model for layout instead of finished art, set the real text yourself, and run the print checks before exporting. Skip any one of those and you will spend the time you saved regenerating images that were never going to work.
Start with one flyer, save the prompt and palette that produced it, and reuse them. The second flyer will take a third of the time, and the tenth will look like it belongs to the same business as the first.

Co-Founder & Operations at Wireflow
Runs client operations and content strategy at Wireflow. Works directly with creative teams and agencies to build production AI workflows.
- Content Strategy
- Client Operations
Make AI videos and ads.
Start free, no card needed.