How to Sharpen Blurry Photos With AI


In this article▾
How to Sharpen Blurry Photos With AI
Sharpening a blurry photo with AI takes about three steps: identify what kind of blur you are dealing with, run the image through a model trained to rebuild edge detail, then upscale the result so the recovered texture holds up at full size. Modern tools do this in seconds, and Wireflow lets you chain those steps into one repeatable pipeline instead of bouncing a file between three separate websites. This guide covers what AI can genuinely recover, what it cannot, and the exact order of operations that produces the cleanest result.
After sharpening, wire the result into an AI photo colorizer to bring a black and white shot back in full, natural color.
What Blur Actually Is, and What AI Can Recover
Blur is missing edge information. A camera records light over a window of time, and anything that moves during that window, including the camera itself, spreads across several pixels instead of landing on one. Missed autofocus does the same thing at a different stage: the lens projects a soft circle where a sharp point should be. Heavy JPEG compression adds a third kind of softness by discarding the fine frequency data that carries texture.
Traditional sharpening filters, the unsharp mask in any photo editor, only increase contrast along edges that already exist. They make a soft photo look crunchier without adding a single new detail, which is why over-sharpened images grow halos and grain. AI sharpeners work differently. They are trained on millions of sharp and degraded image pairs, so they predict what the missing texture most likely was and paint it back in. For a hands-on look at this in action, check out the AI photo enhancer feature page, which walks through the same restore-then-upscale sequence on real files.
That prediction step is the important caveat. AI is reconstructing plausible detail, not recovering the original photons. On a mildly soft portrait the reconstruction is close to invisible. On a photo so blurred that a face is a smear, the model will invent facial features that were never there. The practical rule: if you can tell what the subject is, AI can usually sharpen it. If you cannot, no tool will save it.
Build this in Wireflow
Make the same kind of asset on a canvas you control, with a free account and no credit card.
Step by Step: Sharpening a Blurry Photo
The sequence below works in any AI image tool. The order matters more than the specific product you pick, because running the steps backwards throws away detail you will want later. If your source file has other problems, such as damage or discoloration, handle those first using the process in the guide on restoring damaged old photos.
- Start from the highest quality original you have. Pull the file off the camera or phone rather than saving a copy out of a messaging app. Every re-compression removes detail that the model would otherwise have used as a hint.
- Diagnose the blur type. Look at the edges. Streaks that all run the same direction are motion blur. Uniform softness across the frame with sharp areas elsewhere means missed focus. Blocky, mushy patches mean compression artifacts. Several tools ask you to pick, and picking correctly changes the result noticeably.
- Run the sharpening or enhancement pass first, before any resizing. Sharpening a small file and then enlarging it gives the model a clean base. Enlarging first forces the sharpener to work on interpolated pixels that contain no real information.
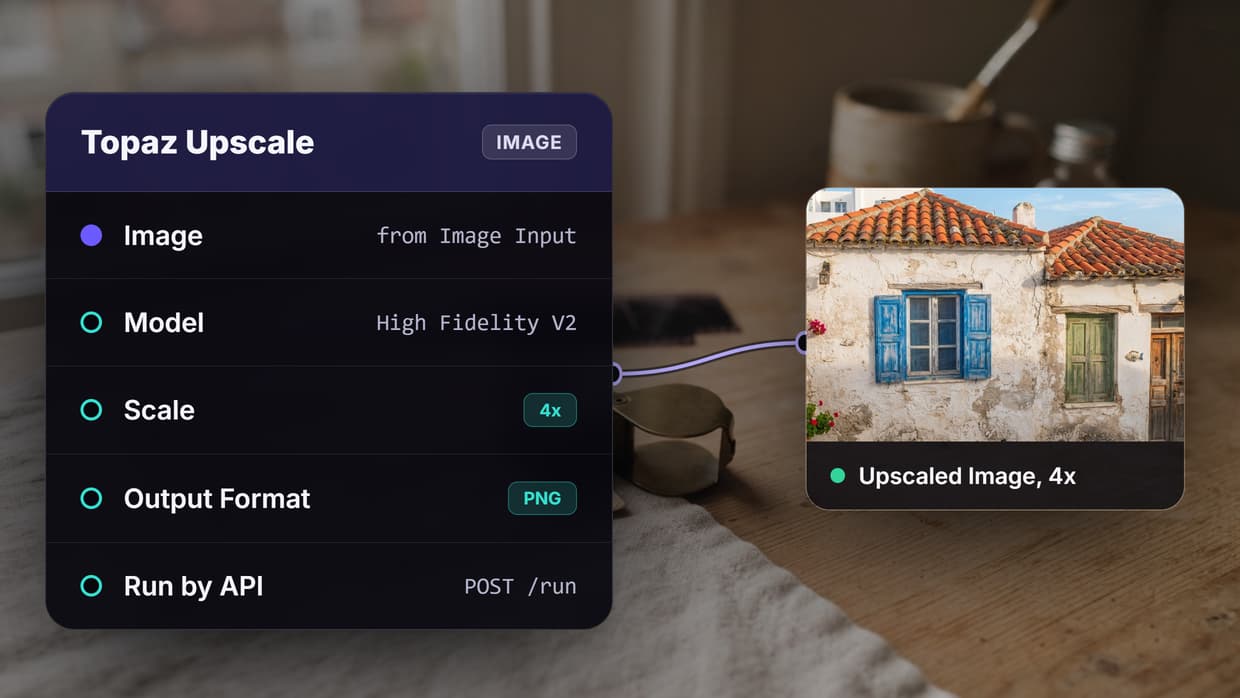
- Upscale the sharpened result to the size you actually need. A 2x or 4x pass with a dedicated model such as the one behind the AI image upscaler rebuilds texture at the new resolution instead of stretching it.
- Compare at 100 percent, not fit-to-screen. Almost every over-processing mistake is invisible zoomed out. Check skin, hair, foliage, and text, which are the four areas where AI reconstruction fails most visibly.
- Export once, at full quality. Save as PNG or high quality JPEG. Re-saving the output through another lossy pass undoes part of what you just gained.
Picking the Right Approach for Each Blur Type
Not every blur responds to the same treatment. This table maps the common cases to the approach that tends to work, and to the realistic ceiling on what you will get back. If you are working through an API rather than a web interface, the walkthrough on upscaling images with ClarityAI shows the same decisions expressed as parameters.
| Blur type | What causes it | Best approach | Realistic outcome |
|---|---|---|---|
| Motion blur | Camera shake or a moving subject | Deblur model, then light upscale | Good on short streaks, poor on long ones |
| Out of focus | Missed autofocus, shallow depth of field | Face or detail enhancement model | Strong on faces, weaker on fine text |
| Low resolution | Small source file, heavy crop | 2x to 4x upscale, no separate sharpen | Usually the best case of the four |
| Compression artifacts | Repeated JPEG saves, messaging apps | Artifact removal, then upscale | Good, but never matches an untouched original |
| Lens softness | Cheap optics, dirty glass, wide aperture | Mild sharpening only | Subtle improvement, easy to overdo |
A photo often has more than one of these at once. A screenshot of a video call is low resolution, compressed, and slightly out of focus all at the same time. In that case work in the order of the table, top to bottom, and stop as soon as it looks right rather than stacking every available pass.
Sharpening More Than One Photo at a Time
Single-image tools are fine for a one-off. They stop scaling the moment you have a folder of two hundred product shots or a wedding gallery to clean up, because every image means another upload, another wait, and another download. Chaining the steps into a pipeline solves this: a model chaining setup passes the output of the deblur pass straight into the upscaler without a human moving files around.
Once the chain exists, running it across a folder is the same operation repeated. A batch generation run applies identical settings to every file, which matters for consistency as much as speed. Photos processed one at a time with slightly different settings look mismatched when you put them side by side in a catalog or a listing.
Building the chain does not require code. A visual canvas lets you drop an input node, connect it to an enhancement model, connect that to an upscaler, and run the whole thing. The same graph then becomes a template you reuse next month without rebuilding it.
Mistakes That Ruin Otherwise Good Results
Stacking passes. Running an image through three sharpeners does not triple the sharpness. Each pass treats the previous pass's invented detail as real detail and amplifies it, which is how photos end up with plastic skin and crunchy halos. One good pass beats three mediocre ones. If a single pass is not enough, the source is probably past saving, and generating a fresh image with an AI image generator may be the more honest option.
Sharpening before cropping. If you plan to crop to a quarter of the frame, crop first. Otherwise the model spends its effort reconstructing pixels you are about to throw away, and the area you keep gets no more attention than the rest.
Ignoring what the reconstruction invented. Check text, logos, license plates, and jewelry. Models routinely render text as convincing gibberish because they learned the shape of letters, not the letters themselves. For any image where accuracy is the point, such as documentation or evidence, verify every rendered detail before you use it.
Using the wrong output size. Upscaling a photo to 8x when it will be displayed at 800 pixels wide adds processing time and file size for nothing. Match the output to the destination. The pricing page makes the cost per pass clear enough that oversized runs are worth avoiding on large batches.
Treating every photo as a sharpening problem. Sometimes the issue is exposure, color cast, or a distracting background rather than blur. Running the wrong correction wastes a pass and can make the real problem more obvious. A background remover fixes a cluttered shot far better than a sharpener does.
Try it yourself: Open this photo enhancement workflow in Wireflow and the nodes are already wired for the enhance-then-upscale sequence described above, so you can drop in your own blurry photo and run it.
FAQ
Can AI fully fix a very blurry photo? No. AI can rebuild detail that is degraded but still partially present. If the subject is unrecognizable, the model has nothing to work from and will invent features rather than recover them.
Should I sharpen or upscale first? Sharpen or enhance first, then upscale. Upscaling first forces the sharpener to operate on interpolated pixels that contain no real detail.
Does AI sharpening reduce image quality? A single pass generally improves perceived quality. Repeated passes degrade it, because each one amplifies the artifacts the previous one introduced.
Is AI sharpening different from the sharpen slider in a photo editor? Yes. A sharpen slider raises contrast on existing edges. An AI model predicts and reconstructs texture that was lost, which is why it can improve genuinely soft images where a slider only adds halos.
Will AI sharpening work on faces? Faces are the strongest case, because face models are trained on enormous quantities of face data. They are also the riskiest, since a heavily reconstructed face can look like a different person. Compare against the original before using it.
Can I sharpen photos in bulk? Yes. Chain a deblur model to an upscaler once, then run the chain across a folder. Batch processing also keeps settings identical across every image, which matters for catalogs and galleries.
What file format should I start from? RAW is best, then PNG, then a high quality JPEG straight from the camera. Avoid files that have passed through messaging apps, which re-compress on every send.
How long does AI sharpening take? A single image usually takes a few seconds to under a minute depending on the model and output resolution. Batch runs scale roughly linearly with image count.
Wrapping Up
Sharpening a blurry photo with AI is less about finding the one magic tool and more about running the right steps in the right order: diagnose the blur, enhance once, upscale to the size you need, then check the result at 100 percent before you export. Getting that sequence right recovers more detail than any amount of slider tweaking, and skipping it is the reason most attempts come out either soft or over-processed. Once the sequence works for one photo, wiring it into a reusable pipeline is what makes it work for the next two hundred.

Co-Founder & Operations at Wireflow
Runs client operations and content strategy at Wireflow. Works directly with creative teams and agencies to build production AI workflows.
- Content Strategy
- Client Operations
Make AI videos and ads.
Start free, no card needed.