How to Create Product Mockups With AI for Ecommerce


In this article▾
- What an AI Product Mockup Actually Is
- What You Need Before You Start
- Step 1: Choose the Model for the Job
- Step 2: Write the Prompt in Five Parts
- Step 3: Build Flat Lays First, Lifestyle Second
- Step 4: Keep a Whole Catalog Consistent
- Step 5: Fix the Four Failures You Will Actually Hit
- Step 6: Export at the Sizes Your Store Actually Serves
- Frequently Asked Questions
- Conclusion
Creating product mockups with AI takes three steps: prepare a clean cut-out of your product, write a prompt that names the surface, lighting and camera, then run the same prompt across every SKU so the set matches. A single mockup takes about two minutes and costs a few cents, compared with a half-day studio booking for the same shot. Wireflow lets you chain the cut-out, the generation and the upscale into one canvas so a catalog of fifty products runs on the same recipe instead of fifty separate prompt sessions.
If you also need the plain primary shot, an AI packshot generator renders it on a clean white background from your product photo or a short brief.
When the product is clothing, an invisible mannequin generator fills the hollow neckline and removes the mannequin so the garment stands on its own.
What an AI Product Mockup Actually Is
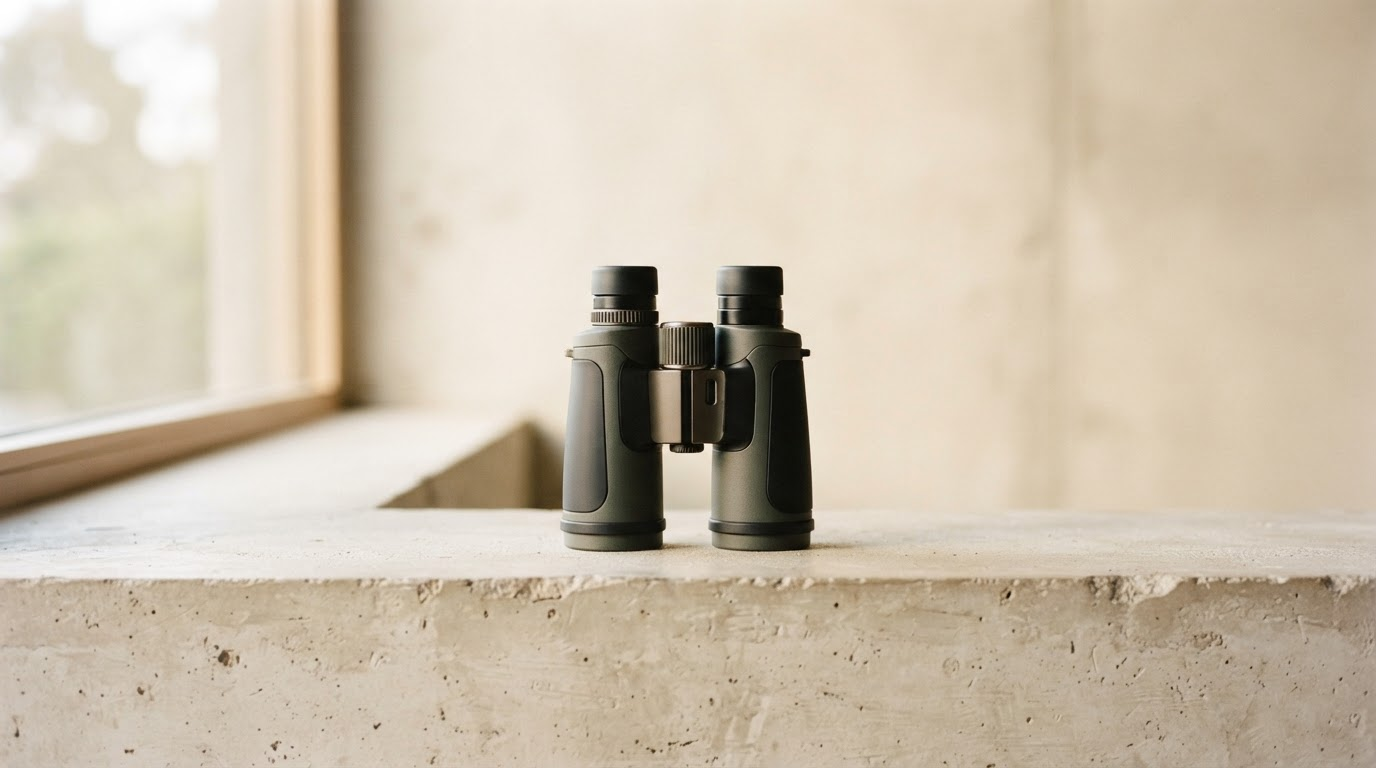
A product mockup is a composed image that shows a real product in a context you did not photograph: a candle on a linen shelf, a tote over a shoulder, a serum bottle on wet marble. AI mockups come in two flavours. In the first, the model regenerates the whole scene from a text description. In the second, it keeps your actual product photo intact and only builds the environment around it. For ecommerce the second flavour is what you almost always want, because shoppers are buying the object in the photo and a regenerated label is a returns problem waiting to happen. The AI mockup generator feature page walks through that product-preserving setup node by node.
It helps to be clear about what a mockup is not. It is not a substitute for one honest, well-lit photo of the item as it ships. Amazon, Shopify and Etsy all expect a plain-background primary image, and that image should be real. Mockups earn their keep in positions two through eight of the gallery, in ads, in email, and on category banners. The same rule applies to AI product photos for ecommerce generally: real hero, generated support.
Build this in Wireflow
Make the same kind of asset on a canvas you control, with a free account and no credit card.
What You Need Before You Start
Three inputs decide the quality of everything downstream:
- One sharp product photo, shot straight on, evenly lit, at 2000px or larger on the long edge. A phone photo on a windowsill is fine. A blurry one is not.
- A transparent cut-out of that photo, so the model can place the object without fighting the old background.
- A written scene brief: surface, props, light direction, mood, and the aspect ratio your store uses.
If you do not have a cut-out yet, generate one first. Automatic matting handles most hard-edged products in a second, and the transparent background workflow covers the awkward cases like hair, mesh and glass. Keep the cut-out as a PNG, never a JPEG, or you will bake a white halo into every mockup you make from it.

Step 1: Choose the Model for the Job
Different image models fail in different places, so pick by product type rather than by reputation. Nano Banana 2 is the strongest option when you are feeding it a reference image and asking it to preserve the product while rebuilding the scene, which is the core mockup task. Recraft V4 is better when the mockup carries readable text, such as packaging, labels or a poster, because it keeps typography legible instead of turning it into decorative squiggles.
| Product type | Best approach | Watch out for |
|---|---|---|
| Apparel and print-on-demand | Reference image plus scene prompt | Fabric drape, seam distortion |
| Packaging and labels | Text-capable model, flat lay | Garbled small type |
| Glass, bottles, jars | Reference image, controlled reflections | Fake highlights, wrong refraction |
| Jewellery and small metal | Macro framing, upscale after | Melted clasps, extra links |
| Furniture and homeware | Lifestyle scene, wide framing | Impossible perspective, floating legs |
Step 2: Write the Prompt in Five Parts
Vague prompts produce generic stock imagery. A reliable mockup prompt names five things in order: subject, surface, light, style, camera.
A 4oz amber glass serum bottle with a matte gold dropper cap, standing on cream travertine with a folded linen cloth behind it, soft window light from the left with a long soft shadow to the right, clean editorial commercial style, 85mm lens at f/4, square crop.
Change one variable at a time when you iterate. If you rewrite the whole prompt after every result you learn nothing about which word did the work. Most teams find that surface and light direction move the needle far more than adjective stacking, which is the same lesson that shows up in background generation work.

Step 3: Build Flat Lays First, Lifestyle Second
Flat lays are the forgiving format. The camera looks straight down, the product sits on a plain surface with two or three props, and there are no people, hands or perspective problems to get wrong. Expect a usable flat lay in one or two attempts. Start here for every new product so you have something shippable before you spend time on harder shots.
Lifestyle mockups place the product in use and convert better, but they take more attempts because human hands, scale and occlusion are where image models still break. Generate four to eight variations, keep the one where the product reads correctly, and discard the rest without trying to repair them. That volume-then-select habit is baked into the ecommerce images workflow most stores settle on.
Step 4: Keep a Whole Catalog Consistent
One good mockup is a demo. Forty matching mockups are a product page system, and consistency is what makes a gallery look professional. Lock a base prompt that holds surface, light and camera fixed, then swap only the product clause per SKU. Save that base as a template so nobody on the team rewrites it from memory, which is exactly what reusable templates are for.
Chaining is the other half of consistency. Cut-out, then mockup generation, then upscale, then crop should run as one connected sequence rather than four manual handoffs, and model chaining is what turns that sequence into a single reusable canvas. Once the chain works for one product, point it at a list and let batch generation run the rest while you do something else.

Step 5: Fix the Four Failures You Will Actually Hit
Most bad mockups fail in predictable ways, and each one has a cheap fix:
- Wrong shadow. The product floats because the shadow direction contradicts the stated light. Name the shadow explicitly: "long soft shadow falling to the right."
- Distorted label text. Do not ask the model to invent your branding. Composite the real label, or use a text-capable model and keep type large.
- Changed product colour. Reference-image strength is too low. Raise it, or run a colour-match pass against the source photo before publishing.
- Soft output at store resolution. Generation resolution rarely matches what a product page needs, so finish with an upscale pass rather than uploading the raw file.
Run a colour check against the physical product before anything goes live. A mockup that shows a warmer beige than the item that arrives is the single fastest way to turn generated imagery into a returns line item.
Step 6: Export at the Sizes Your Store Actually Serves
Decide export specs once and apply them to every batch. Square 2000x2000 for marketplace galleries, 4:5 for social and paid, 16:9 for category banners and email headers. Generate at the widest useful aspect ratio and crop down, because cropping keeps detail while upscaling a narrow crop invents it. Teams shipping high volume usually move this last mile to an API call, which the batch image generation guide covers end to end.
Cost is worth checking before you scale, since a fifty-SKU catalog at four variations each is two hundred generations per refresh cycle and model choice changes that bill significantly. Current per-image rates sit on the pricing page.
Try it yourself: Build this workflow in Wireflow. The nodes are pre-configured with the cut-out, mockup and upscale steps described above.
Frequently Asked Questions
Do I need a professional product photo to start? No. A sharp, evenly lit phone photo on a plain surface is enough, as long as it is in focus and at least 2000px on the long edge. Lighting quality matters more than camera quality because the model rebuilds the lighting anyway.
Can AI mockups be used as the main marketplace image? Generally no. Amazon, Etsy and most marketplaces require the primary image to be a true representation of the product on a plain background. Use a real photo in position one and generated mockups in the supporting slots.
How do I stop the AI changing my product? Feed the product as a reference image rather than describing it in text, and keep reference strength high. Product-preserving setups on the AI product photo generator rebuild only the background and lighting, leaving the object pixels intact.
Which model handles packaging text best? Text-capable models such as Recraft V4 keep small type legible. For anything critical, composite the real label artwork over the generated scene instead of trusting the model to render it.
How many variations should I generate per product? Four to eight for lifestyle shots, one or two for flat lays. Select rather than repair, since fixing a broken generation usually costs more attempts than starting fresh.
Can I do this without code? Yes. A visual canvas connects the steps without scripting, and the node editor exposes the same chain that an API call would run.
What about video mockups? Still images come first because they feed product pages and ads. Once the still set is locked, the same cut-out can drive short product clips, which the ecommerce product video tools roundup breaks down.
Conclusion
AI mockups are a systems problem, not a prompting problem. The teams getting clean, on-brand catalogs are not writing better sentences than everyone else; they are locking one base prompt, one chain of steps and one export spec, then running it across every SKU. Start with a clean cut-out, build flat lays before lifestyle scenes, generate in volume and select ruthlessly, and finish with an upscale so the file holds up at store resolution. If you are setting this up for a store rather than a one-off, the ecommerce workflow overview is the fastest way to see the whole chain in one place.

Co-Founder & Operations at Wireflow
Runs client operations and content strategy at Wireflow. Works directly with creative teams and agencies to build production AI workflows.
- Content Strategy
- Client Operations
Make AI videos and ads.
Start free, no card needed.