How to Make a Full Movie With AI Tools

In this article▾
- What "a full movie" actually costs in shots
- Step 1: Write the script and lock it before generating anything
- Step 2: Build a shot list with prompt fields, not prose
- Step 3: Lock characters with reference images, not descriptions
- Step 4: Generate shots scene by scene, not in script order
- Step 5: Build the audio in three separate layers
- Step 6: Assemble, grade, and fix continuity in the edit
- Budget and time expectations
- FAQ
- Conclusion
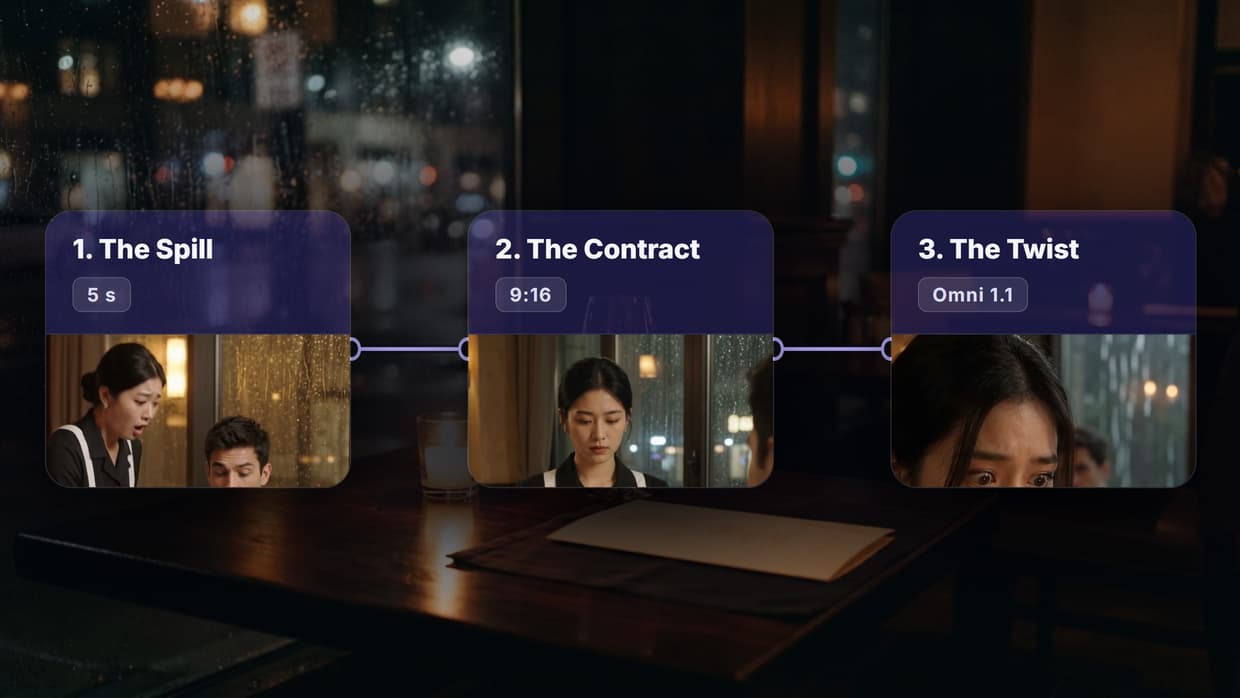
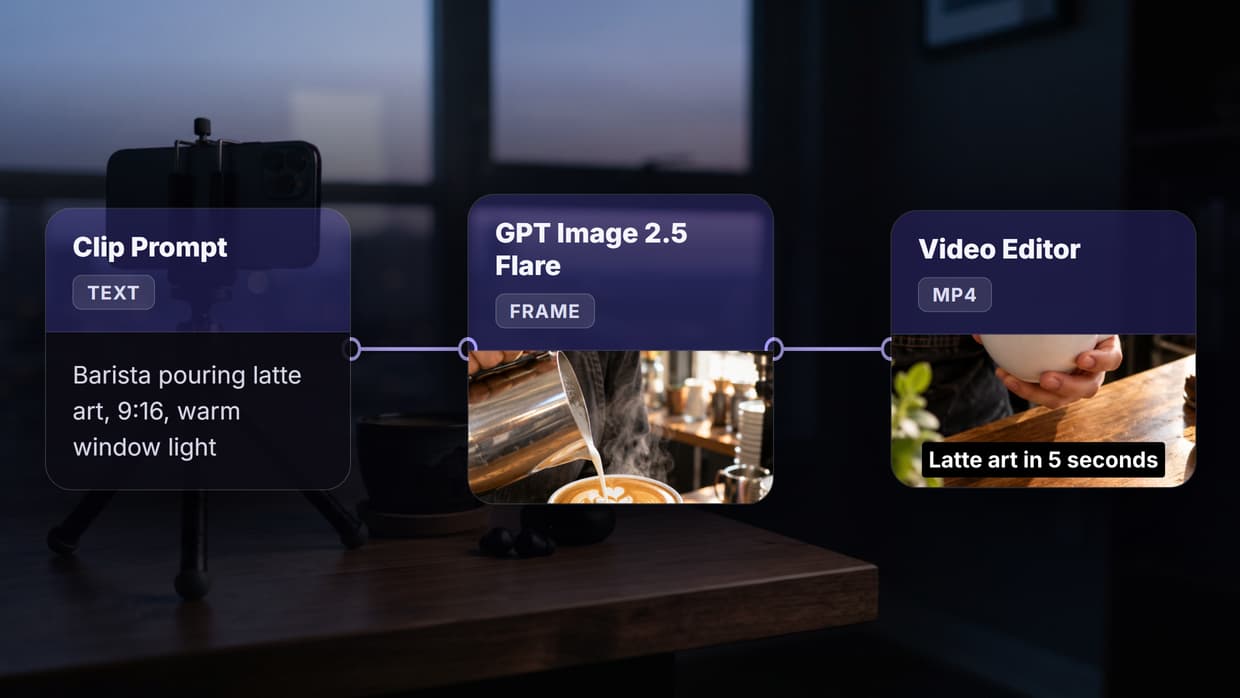
Making a full movie with AI tools is now a production problem rather than a technology problem: the models can generate the shots, but a feature needs hundreds of them to hold the same faces, lighting, and pacing from first frame to last. A working pipeline runs in six stages, script, shot list, character locking, shot generation, audio, and assembly, and each stage hands a specific artifact to the next. Wireflow lets you chain those stages as connected nodes on one canvas, so a script change re-renders the affected shots instead of forcing you to redo the whole film by hand. This guide walks the full sequence, with the numbers that decide whether a project takes a weekend or three months.
What "a full movie" actually costs in shots
Before touching a model, do the arithmetic. Current video models generate clips in 5 to 10 second increments, so a 90 minute feature is roughly 700 to 1,000 usable shots. Once the film is cut, you can make an AI movie trailer from the same shots in a few minutes. Most teams generate three to six attempts per shot before one lands, which puts real generation volume between 2,500 and 5,000 clips. That single number drives everything else: your storage plan, your budget, and whether you can afford to regenerate a scene late in the edit. If you are starting out, a 6 to 12 minute short film, about 70 to 120 shots, is the realistic first target, and the same pipeline scales up unchanged. Teams that skip this estimate almost always stall around the halfway mark, which is why structured video pipelines matter more than any single model choice.
For a hands-on look at this running end to end, check out the AI movie maker feature page, which shows the same stages wired together as an executable graph.
Build this in Wireflow
Make the same kind of asset on a canvas you control, with a free account and no credit card.
Step 1: Write the script and lock it before generating anything
AI generation is cheap per clip and expensive per rewrite. Every script change after generation invalidates the shots it touches, so treat the screenplay as a hard gate. Write it in standard format, read it out loud with a timer, and confirm the runtime, because a 12 page script is roughly 12 minutes on screen and no amount of prompt tuning fixes a story that does not work on the page. Keep dialogue short: current lip sync models handle single sentences far more reliably than long monologues, so break long speeches into cutaways and reaction shots. If you want the script itself drafted with model help, text to video workflows can take a beat sheet to a scene draft, but a human pass on structure is still what separates a film from a montage.
Step 2: Build a shot list with prompt fields, not prose
The shot list is the real production document. Instead of writing a paragraph per shot, build a table where each column is a prompt field, because consistent field structure is what makes hundreds of shots feel like one film.
| Field | Example | Why it matters |
|---|---|---|
| Shot ID | S04-07 | Maps generated files back to the edit |
| Subject | Mara, 30s, grey field jacket | Pulled verbatim from the character sheet |
| Location | flooded parking garage, knee deep water | Repeated exactly across the scene |
| Camera | 35mm, slow dolly in, eye level | Controls coverage variety |
| Light | sodium vapor overhead, hard shadows | The main driver of visual continuity |
| Duration | 6s | Keeps the assembly math honest |
Reusing the location and light strings verbatim across every shot in a scene is the single highest impact continuity trick, and it costs nothing. This spreadsheet also becomes the input for batch generation later, which is how multi shot stitching pipelines turn a list of rows into a sequence of rendered clips.
Step 3: Lock characters with reference images, not descriptions
Identity drift is the failure mode that kills most AI films. Text descriptions of a character will produce a different face every time, so generate a character sheet first: one clean portrait per character, plus three quarter and profile angles, and a full body shot showing wardrobe. Save those as reference images and feed them into every shot that character appears in. Image to video models accept a still as the first frame, which means you can compose the frame precisely as an image, check the face, and only then animate it. That two step approach, still first and motion second, gives noticeably higher hit rates than prompting video directly, and it is the core of most image to video setups.

Step 4: Generate shots scene by scene, not in script order
Generate all shots from one location together, in a single sitting, using the same model, the same seed family, and the same location and light strings. Batching by location rather than by story order keeps the look consistent, because model behaviour drifts as you change prompt context. Model choice matters here too: Seedance and Veo class models handle physical motion and camera moves well, while other models are stronger on stylized or animated looks. It is worth reading a current Veo capability breakdown and comparing it against Sora class alternatives before committing a whole act to one model, since switching mid film is visible on screen.
Expect a hit rate of roughly one usable clip in three or four. Log every generation with its shot ID, prompt, seed, and model in the same spreadsheet, because on a project this size the ability to reproduce a shot six weeks later is worth more than any individual clip. Running generations through a chained model call rather than clicking through a web UI is what makes that logging automatic instead of manual.
Step 5: Build the audio in three separate layers
Audio is where AI films most often give themselves away, and it is also the cheapest quality gain available. Build it as three layers rather than one pass. Dialogue comes first, generated per line with a locked voice per character so the performance stays consistent across scenes; voice generation tooling handles this reliably when each character has a fixed voice ID. Ambience comes second, one continuous bed per location, which does more to glue disparate shots together than any visual fix. Score comes last, written to the locked picture rather than before it, so cues land on cuts that actually exist.
Step 6: Assemble, grade, and fix continuity in the edit
Bring every approved clip into an editor and cut the film normally. A grade pass across the whole timeline is not optional: pushing all shots toward one LUT hides a surprising amount of model to model variation in colour and contrast. Trim generously, since AI clips usually have a usable core of two to four seconds inside a six second render, and cutting tight also hides motion artefacts that appear at clip edges. For long projects it pays to automate the conform step so re-rendered shots drop straight into place, which is what video assembly APIs are built for.

Budget and time expectations
A 10 minute short at current rates costs roughly $150 to $600 in generation credits, assuming 100 shots at a 1 in 4 hit rate, plus voice and music. A 90 minute feature scales to somewhere between $3,000 and $12,000, dominated by regeneration rather than first attempts. Time is the harder constraint: solo creators typically report 4 to 8 weeks for a polished 10 minute short, with the shot generation stage taking about half of it. Comparing per second model pricing before you start is worth an hour of research, because a 2x difference in per clip cost becomes a four figure difference across a feature.
Try it yourself: Build this workflow in Wireflow : the nodes are pre-configured with the script to shot to render setup discussed above, so you can run it against your own scene and see the outputs immediately.
FAQ
Can AI actually generate a full length feature film today? It can generate every shot in one, but not in a single pass. No model produces 90 continuous minutes; you assemble a feature from hundreds of 5 to 10 second clips, which is why the shot list and assembly stages matter as much as the generation stage.
How many clips do I need to generate for a 10 minute short? Plan for 100 to 130 shots in the final cut and 400 to 500 total generations at a realistic 1 in 4 hit rate. Budget and schedule against the generation count, not the final count.
What is the hardest part of making an AI movie? Character and location consistency across scenes. Reference images per character and verbatim reuse of location and lighting strings solve most of it; the rest is fixed with a global colour grade in the edit.
Do I need one tool or several? Several models, ideally behind one pipeline. Image, video, voice, and music are still best served by different models, so the practical question is how you connect them rather than which single tool does everything.
How long is each generated clip? Most current models output 5 to 10 seconds. Write your shot list in that range and plan coverage accordingly; longer intended shots should be split into two generations joined on a match cut.
Can I use AI generated film commercially? Usually yes, subject to each model provider's licence terms, which differ on commercial use and training data indemnity. Check the licence of every model in your chain before distribution, including the voice and music models.
Should I generate video directly from text or go through images? Go through images for anything with a recognisable character. Generating a still first lets you approve the face and framing before spending a video generation, which raises the usable hit rate significantly.
What editor should I use for the assembly? Any standard NLE works, since AI clips are ordinary video files. What matters more is a consistent naming convention tied to shot IDs so re-rendered clips can replace earlier versions without breaking the timeline.
Conclusion
Making a full movie with AI tools rewards production discipline far more than model access. Lock the script, build a field structured shot list, generate reference sheets before shots, batch by location, layer the audio, and grade everything at the end. The teams shipping finished films are the ones treating generation as one stage in a repeatable pipeline rather than a series of one off prompts, and running that pipeline on connected AI video workflows is what makes a late script change survivable instead of fatal.

Co-Founder & Operations at Wireflow
Runs client operations and content strategy at Wireflow. Works directly with creative teams and agencies to build production AI workflows.
- Content Strategy
- Client Operations
Get unlimited ad creatives today.
One call to see if we are a fit and scope the first ad. If it fits, your first batch lands inside week one.